

Roblox Studio is software that allows developers to create games and projects on the Roblox platform. Using the Lua software language and an easy drag-and-drop interface, anyone can quickly create their own game, and upload it to Roblox in a matter of minutes! The easiest way to get started on Roblox Studio is to take a free Roblox coding class.
In this post we will guide you and your child through how to download Roblox Studio and get started with Roblox coding.
Is Roblox Studio Available For Free?
One of the best reasons to learn how to design games in Roblox Studio is because it is free! Once you download and log in to the program, you can create as many games and projects as you like, upload them to Roblox, and play them with your friends at no cost.
What Do I Need To Run Roblox Studio?
You will need to have a Windows PC or a Mac computer in order to run Roblox Studio. Currently, the program will not work on a phone, tablet, Chromebook, or on Linux computers. You will also need a minimum of 1 GB of system memory to run the program smoothly. A mouse is recommended, although a trackpad can also be used.
How to Get Roblox Studio
Roblox Studio is easy to get directly from the Roblox website or through the game itself if you downloaded Roblox via the Microsoft Store. In addition, if you'd like help from an experienced instructor who can show you step-by-step how to download, install, and begin to use Roblox Studio within minutes. Here are the steps to becoming a Roblox Studio user:
1. Visit the Roblox Creator Hub Website
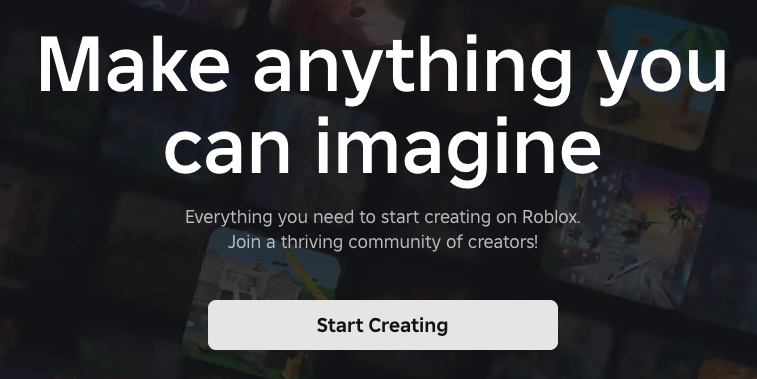
Navigate to Roblox Creator Hub at https://create.roblox.com/. Sign in to your account in the upper right hand corner (or create a new account if you are new to Roblox). After you have signed in, click on the Start Creating button in the center of the page to start downloading Roblox Studio. If your browser asks where to save the file, be sure to save it in a location that you can find easily, like the Desktop or Downloads folder.
2. Select the Download to Install
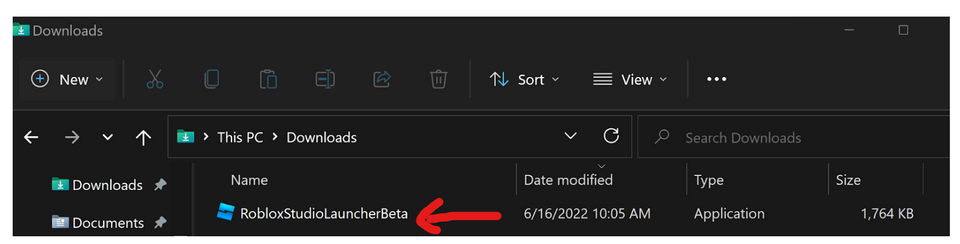
Once the file has been downloaded, navigate to the place you sent the download on your computer, and double click on the file’s name to install your copy of Roblox Studio. Note that the file name on your computer might be different depending on your computer. On Mac, it is likely called RobloxStudio.dmg and on Windows PC, the file name is RobloxStudioLauncherBeta.
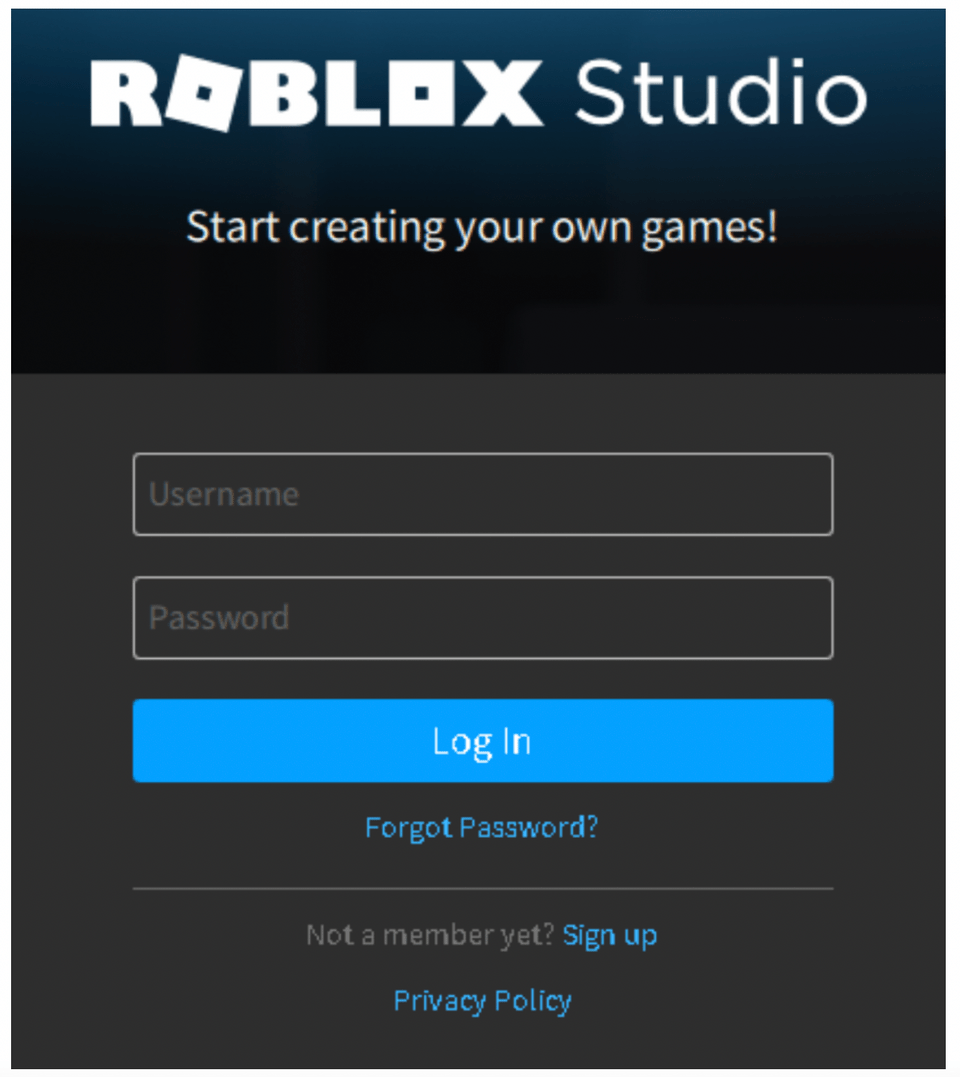
3. Log In to Create
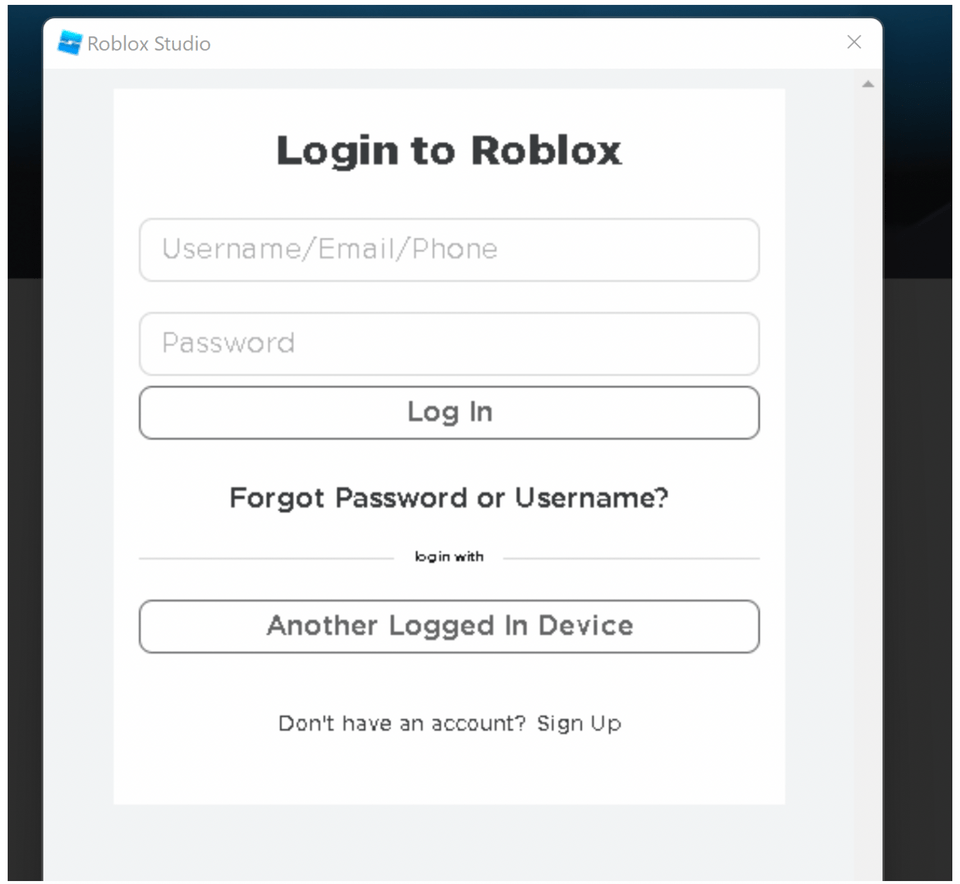
After Roblox Studio runs through its Installation sequence, it will ask you to log in to continue. Be sure to use the same login that you use in Roblox, or the account name and password that you just created if you are new to Roblox. If you are already logged in to Roblox in your browser, it may also automatically log you into Studio.
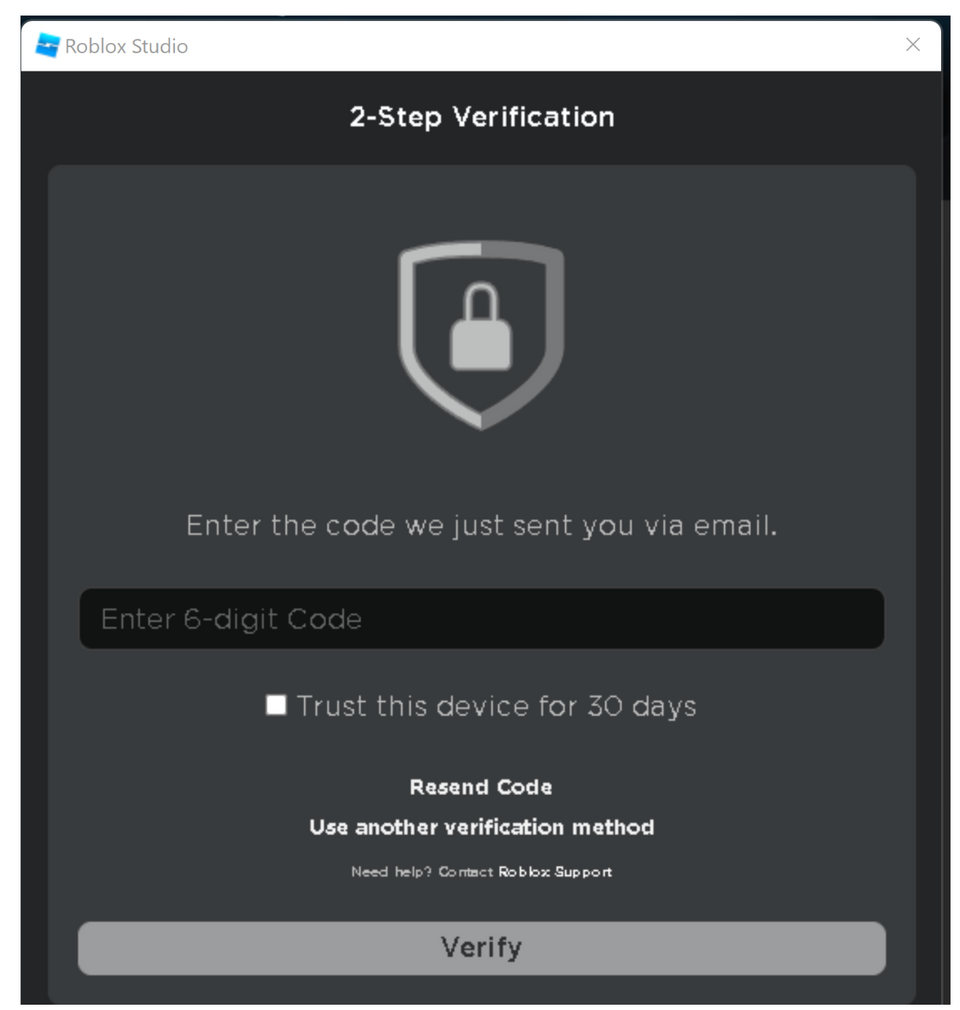
OR
If your account has Two-Step Verification turned on, you will also need to check your email for a verification code to log in.
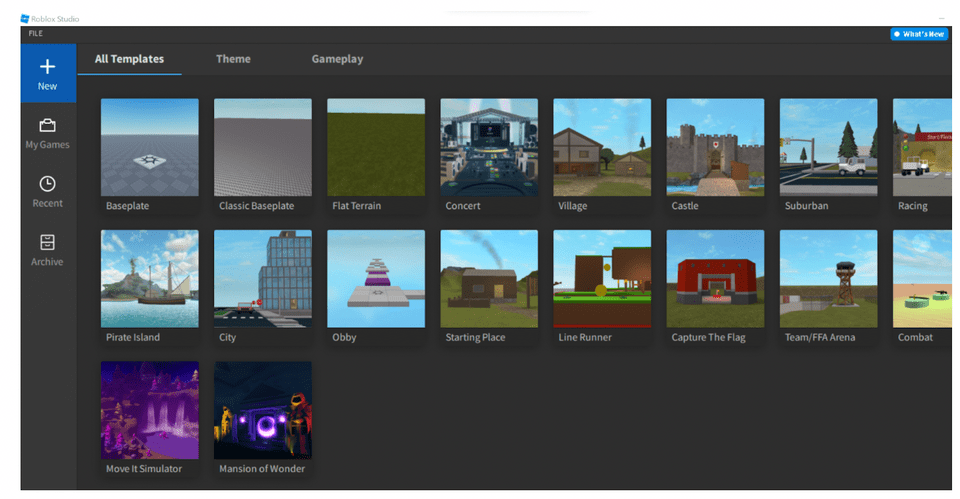
4. Select a New Place Template
Once you have logged in, you will see the “NEW” tab on the left. If it is not already selected, click on it, and choose a starting template to create your first game!
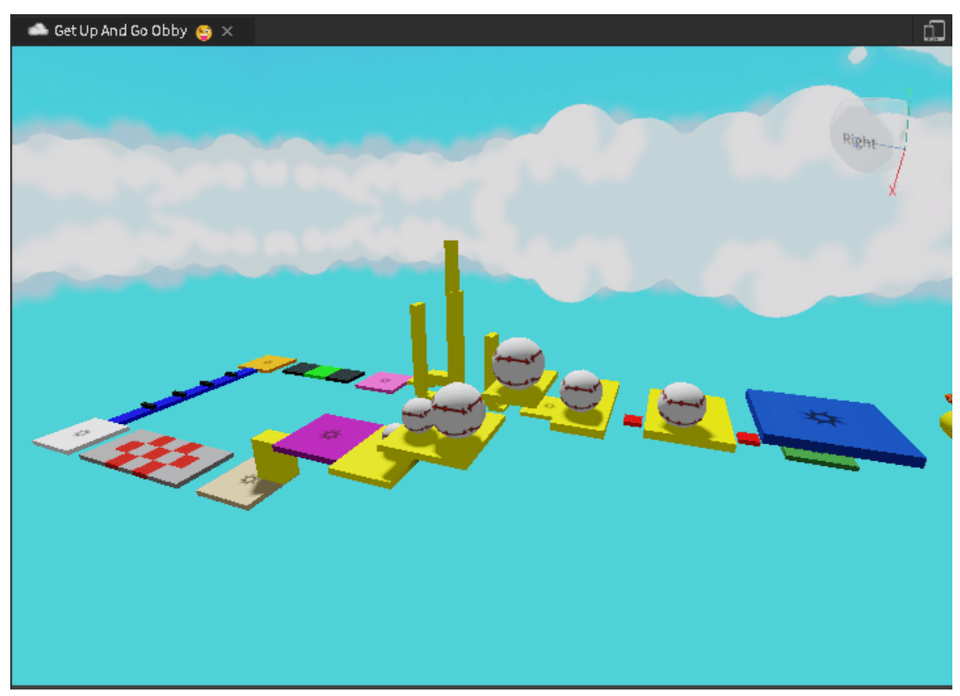
If you’re not sure how to use the Studio interface, we recommend joining Create & Learn’s free Roblox Coding class to learn how to make your very first obstacle course (an Obby Game)!
You can also follow this tutorial to make a fun Roblox game.
Download and Install Roblox Studio - A Video Guide
This video show the step by step process described above, watch it to see exactly how it's done!
Roblox Studio Safety Tips for Parents
When your child is beginning game creation with Roblox Studio, it's important to ensure a safe and secure experience. Roblox offers a variety of tools to help parents set up a safe coding environment while keeping privacy in check. Here are some tips to give you peace of mind:
- Set Up Parental Controls: Roblox has built-in parental controls that allow you to customize your child’s experience. You can control who can chat with them, who can join their games, and even whether they can make in-game purchases.
- Review Privacy Settings: Make sure to check the privacy settings on your child’s Roblox account. You can adjust these settings to limit interactions with others, ensuring that only friends can message or interact with them.
- Monitor Activity: Roblox offers tools that allow you to review your child's account activity, including messages, friend requests, and game interactions. Regularly checking these helps you stay informed about who your child is interacting with and how they are using Roblox Studio.
Learn more about Roblox parental controls here.
Download And Install Roblox Studio
We hope the information above helped you download and install your own copy of Roblox Studio. The next step is to learn how to build a game of your own, save your progress, and share it with the Roblox community! Read all about how to make a Roblox game, which will get you started using your new software installation right away.
Did you know that some of the most popular games on Roblox were created by young developers just like your child? Roblox Studio offers the perfect platform for kids to turn their creativity into real-world success. Many developers began coding as a hobby and ended up building entire communities around their games.
For example, Adopt Me!, one of the most played games on Roblox, started as a small project. Its young creators used Roblox Studio to bring their ideas to life, and now they’ve built a massive player base and a thriving business. This shows that with dedication and creativity, your child’s game could be the next big hit.
If you would like to learn how to make Roblox games systematically, join our Roblox Coding classes which include three tiers - beginner Roblox game coding class (Grades 3-8), intermediate Roblox Studio Lua Coding class (Grades 6-12), Advanced Roblox Game Making (Grades 6-12), and Roblox camps, to enjoy instruction from an expert. Your child can even earn a certificate!
Written by Kari Tonkin, a Create & Learn instructor. Kari has been teaching a wide variety of courses and ages for more than twenty-six years. Some of her favorite subjects to teach include computer science, graphic design, mathematics, and coding languages. She received a Master’s Degree in Curriculum Design with Technology Integration from Black Hills State University in 2016 and has used this knowledge to stay current on new technology trends in education. When she is not working, Kari enjoys playing video games with her family, including Roblox and Minecraft, hiking and camping, and traveling around the United States.

