Discover the best Minecraft skin editors for you and your child to create their own cool characters in the game they love. In Minecraft, a player skin is just an image file (specifically a .png) that gets applied to the player's 3D model in such a way so that the arm parts are on the arms, leg parts are on the legs, and so on. Although you could use a simple image editor to create your own character skin, you'd have to know which part of the image goes to which part of the model. For example, this is what the standard Steve skin looks like as a flat image.
To simplify the process of designing your own skin, the best Minecraft skin editors use a Minecraft player model as the canvas so that you can immediately see what your skin will look like as it's applied to the model. So explore some of the custom skin creators below, and then follow this tutorial for how to make your own Minecraft skin.
Empower your child to learn how different power sources such as Redstone blocks, torches, and switches can be used to power blocks around them in different ways in Minecraft. Enroll them in an award-winning virtual Minecraft engineering class for kids, led live online by an expert. And explore Minecraft modding classes designed by professionals from Google, Stanford, and MIT.
Get Creative With Minecraft Skin Editors
Is there an official Minecraft Skin Editor?
Though there is no official Minecraft skin editor, there are many different options available from the vast reaches of the Minecraft community. Because Minecraft skins are just images, any worthwhile Minecraft skin editor, such as the ones covered in this post, will have basic image editor features like a pencil/brush, an eraser, a fill tool, a color palette/picker, and an undo button.
Also, rotating the model and showing/hiding its different components are essential features of any Minecraft skin editor. Skin creation sites also typically have their own communities where users can share their creations.
Is Minecraft Skin Editor free?
Many Minecraft skin editors are free. And there are free and purchasable skin packs.
Explore Free Minecraft Skin Makers
Discover free web-based Minecraft skin editors, and explore their features to see what makes them different.
1. MinecraftSkins
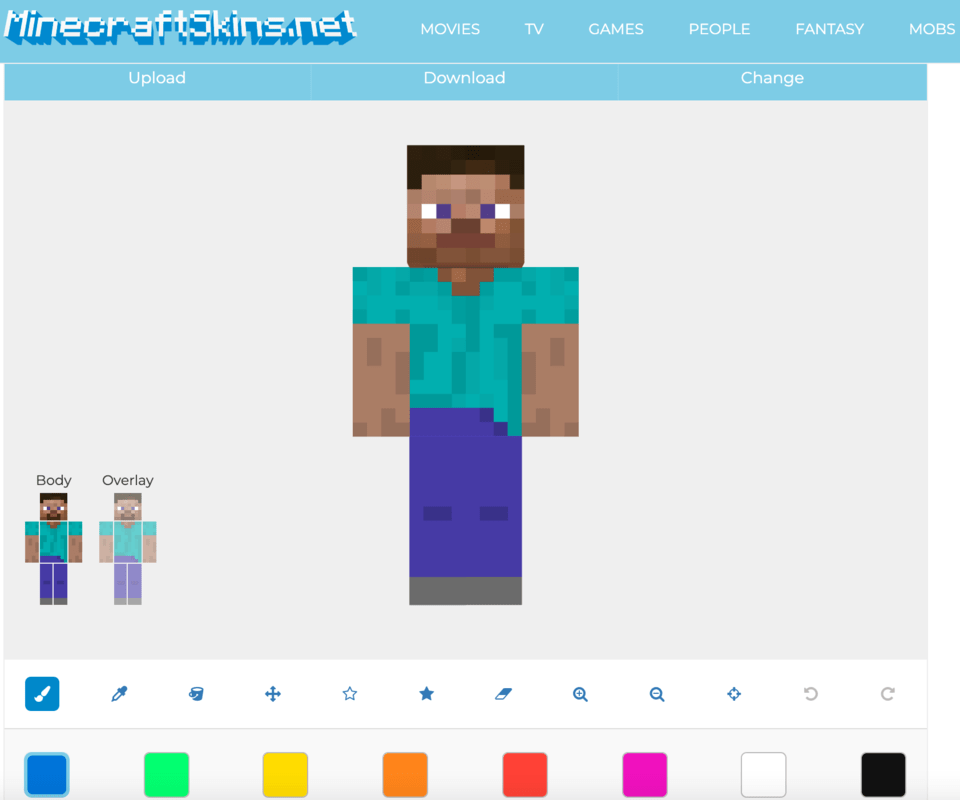
This editor feels like a simpler version of The Skindex, thanks to hex color selection, zoom controls, color adjustment controls, the ability to import/export skins, switching between slim/classic models, and the clear distinction of the model’s second layer with a clean design. Although it doesn't have features like The Skindex's mirror or auto-tone, the ability to pan and select different poses for the model are useful for seeing what your skin will look like outside of the default pose. The grid toggle is also quite useful for exercising precision control when applying colors.
- Pros: Grid toggle, pan control, hex color support, stance menu, straightforward design
- Cons: No mirror tool, no auto-tone/texture brush tool, banner ads
How to use it:
- Start Designing: Click on the “Create New Skin” button to begin.
- Choose Model Type: Select between “Slim” or “Classic” model types, depending on your preference.
- Use Editing Tools: Brush Tool: Paint directly on the skin; Eraser Tool: Remove unwanted parts; Fill Tool: Fill areas with a single color; Color Palette: Select and adjust colors; Undo Button: Correct mistakes easily.
- Preview Your Skin: Rotate the 3D model to see how your skin looks from different angles.
- Adjust and Refine: Use the grid toggle for precision and adjust the stance of the model to view different poses.
- Save Your Skin: Click “Download” to save your skin file in PNG format. You can also “Upload” to share it directly on the site.
2. Tynker's Minecraft Skin Editor
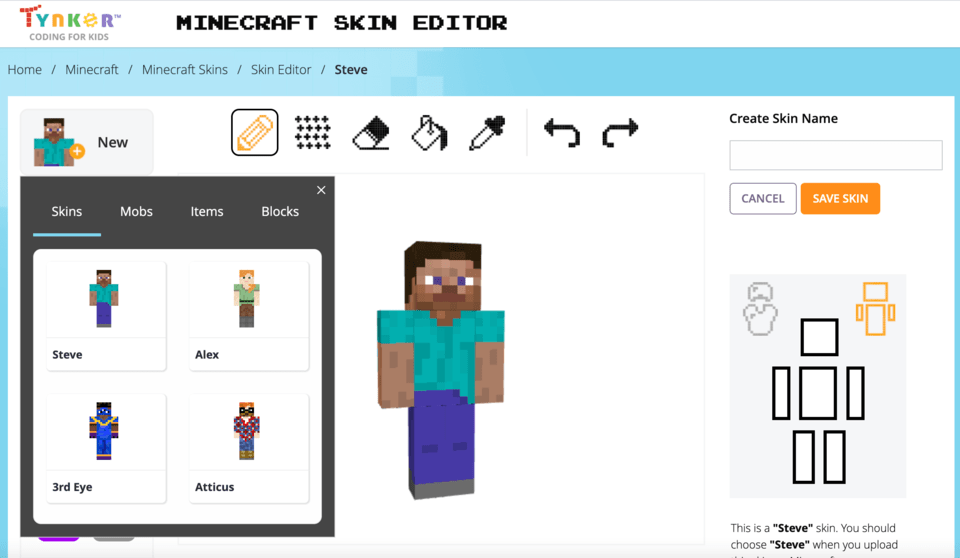
This editor has a simple interface and is very easy to use. The nicest feature might be the texture brush which allows you to add color with minor variation so that surfaces on the model don't look flat. Because of its simplicity, this skin editor is missing some useful features such as no hex color support. You also need to have a Tynker account to save your creations to your computer.
- Pros: Simple interface, texture brush, no ads
- Cons: Account required to save files locally, no hex color support, no zoom in/out, no mirror tool
How to use it:
- Start a New Project: Click on “Create New Skin” to begin.
- Choose Model Type: Select the “Slim” or “Classic” model based on your preference.
- Edit Your Skin: Brush Tool: Use the brush to paint your skin; Fill Tool: Fill areas with a chosen color; Color Picker: Select colors for customization; Texture Brush: Add minor color variations for a textured look.
- Preview Your Skin: View your design in 3D to see how it looks from different angles.
- Save Your Skin: Create a Tynker account. Sign in or create an account to save your work. Click “Save” to download your skin or keep it in your Tynker account.
3. McSkins
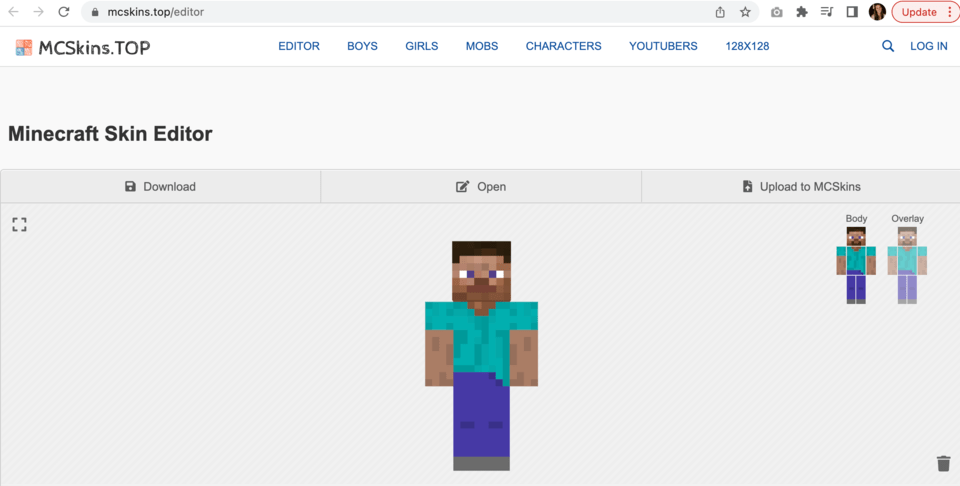
Use this editor to create your own Minecraft skin or edit someone else's skin and share it with your friends or other users. You can even make it 3D.
- Pros: Easy way to get transparent layers, many characters to chose from, zoom in/out
- Cons: No customer support
How to use:
- Choose the skin format: x64 – works in any version; x128 – supported only in Minecraft PE and Bedrock Edition.
- Turn on the grid so you don't miss any unpainted pixels.
- Overlay allows you to add a second layer to each part of the body – this adds volume.
- Press «download», add the skin into your game.
4. Custom Skin Creator App
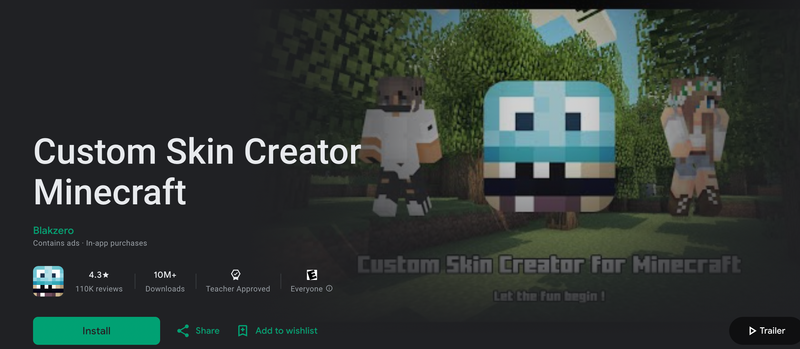
Create one-of-a-kind skins never seen anywhere before. Choose your clothes and color your accessories, and easily create your custom skins for Minecraft pe and pc. This app is rated a 4.3/5.
- Pros: You can pick anything you want, tons of options for jackets pants, face items, and more
- Cons: There are ads in-app, it can be a little challengin to get your skin onto Minecraft
How to use:
5. Skin Editor 3D for Minecraft
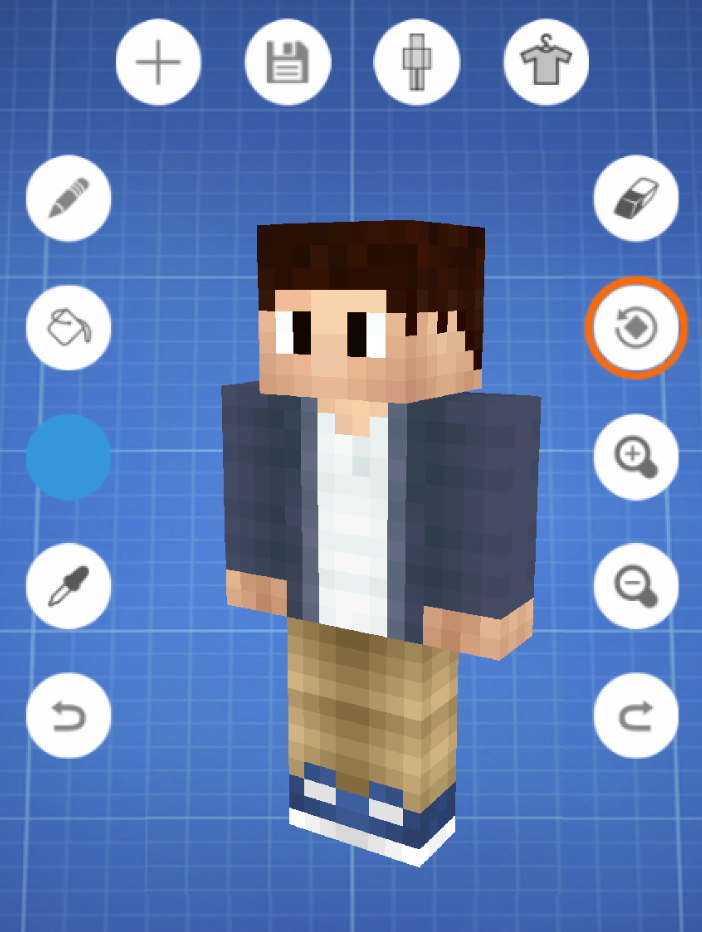
Editing Minecraft skins on the computer can be rewarding, but slightly tricky. Some people prefer to edit using their phone or tablet. This skin editor on the Google play store has everything you need to create the best skin possible. It allows you to see your skin in 3D so you can get every nook and cranny to add incredible detail. And there are 200,000 community created skins you can use. The app is rated a 4.1/5.
- Pros: it's easy to figure out for first-time users and the colors are perfect
- Cons: There are ads in-app, it can be a little tricky to move between the different tools in the app
Bonus: Skinpack Creator for Minecraft Education Edition: Create a custom skin using one of the tools above. Then fill out the name for your skin, name for the skin pack, and a version number then upload your custom skin image file as a ".png". Then download it and you can open it in Minecraft.
Make Magic With Minecraft Skin Editors
Determining what is the best Minecraft skin editor is often a matter of preference. Some users want different things out of their skin editors. Each of the skin editors reviewed here have their own strengths and weaknesses.
If you want a simple ad-free experience, Tynker may be the best choice for you. If you want a bit more power while still working with a simple interface, consider using MinecraftSkins. If you prefer editing on your phone, go with one of the apps.
You and your child can always give each of them a try to find out which one you prefer if you’re not sure what you’re looking for in a skin editor. All of them are worth investigating, if not just to see what cool skins their community members have shared. The Mandalorian appears to be quite a popular source of inspiration for many creators.
Personalized Skin Design Tips
Creating a unique Minecraft skin involves more than just picking colors and patterns. Here are some personalized tips and pro advice from experienced Minecraft players and skin creators to help you and your child craft a standout skin.
1. Utilize Layering
- Create Depth: Use multiple layers to add details and depth. For example, adding a secondary layer for clothing or accessories can make your skin look more dynamic and detailed.
- Transparency: Experiment with transparent layers to create unique effects like glass visors or semi-transparent wings.
2. Use the Mirror Tool
- Symmetry: If your editor has a mirror tool, use it to ensure your skin’s design is symmetrical. This is especially useful for complex designs where both sides should match.
3. Color Variations
- Texture Brush: Instead of using a single flat color, employ a texture brush to add subtle color variations. This can give your skin a more realistic or interesting appearance by simulating textures like fabric or fur.
- Shading: Apply gradients and shading to give the skin a 3D effect. Lightly shade around edges and corners to create depth and make your skin pop.
4. Preview Frequently
- 3D View: Regularly switch to the 3D preview mode to see how your skin looks from all angles. This helps catch any design flaws or mismatches that might not be visible in the 2D editor.
5. Incorporate Unique Patterns
- Custom Designs: Incorporate unique patterns or designs into your skin, such as stripes, dots, or intricate motifs. This can make your skin more visually appealing and stand out in the Minecraft world.
- Inspired Themes: Draw inspiration from your favorite themes, like sci-fi, fantasy, or historical styles. This can help you design a skin that reflects your interests and creativity.
Upload Your Minecraft Skin To Minecraft
How to Upload Your Minecraft Skin To Java Edition
Step 1: Hit the download button on the skin editor. (If you choose to share your skin you can upload it directly to the Skindex by clicking the “Upload to Skindex” button).
Step 2: Name your skin something you will remember and make sure you save it in a place you won’t forget!
Step 3: Open the Minecraft Launcher.
Step 4: Select “Skins”(highlighted in yellow).

Step 5: Click “New skin.”
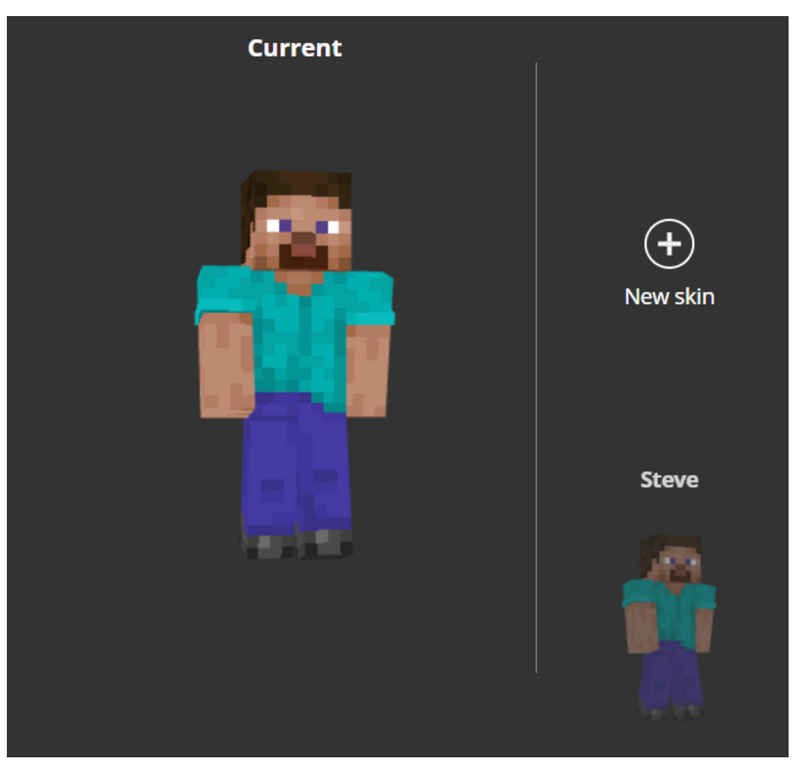
Step 6: Select “Browse” and find your skin.

Step 7: Save and play!
How to Upload Your Skin To Minecraft Education Edition
Step 1: Hit the download button on the skin editor.
Step 2: Name your skin something you will remember and make sure you save it in a place you won’t forget!
Step 3: Open this website. This skin pack creator will allow you to upload multiple skins to use inside of Minecraft Education Edition.
Step 4: Name your skin, name your skinpack, and add a version number.
Step 5: Upload your skin.

Step 6: Download and open the file. It should prompt you to open Minecraft Education Edition. This will then automatically import your skin.
Step 7: Select the clothing hanger to change your skin (squared in red).
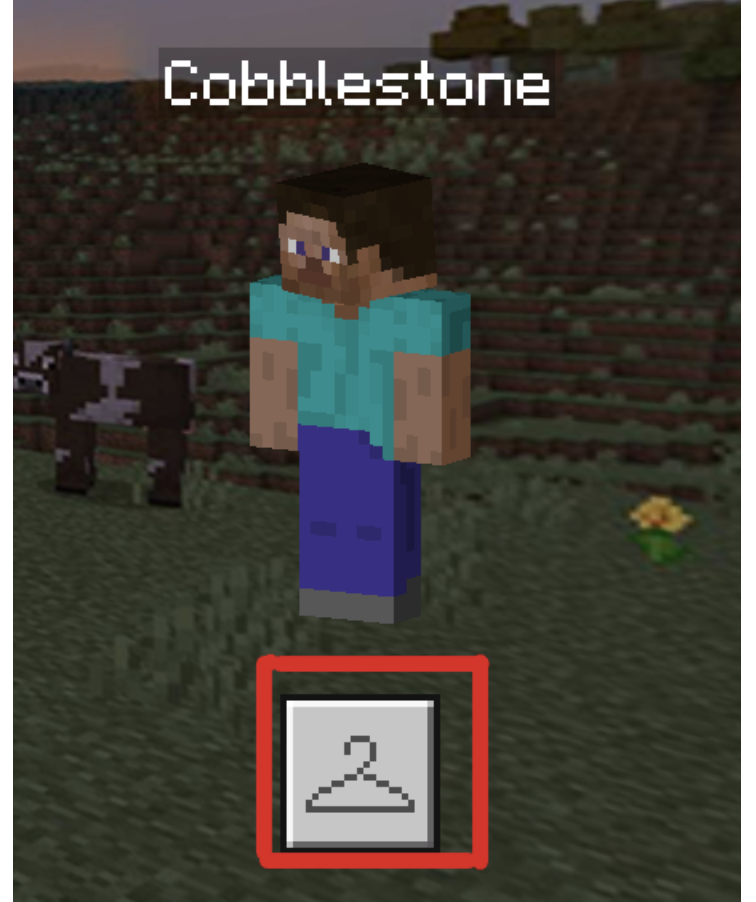
Step 8: Scroll to the bottom to find your skin pack. Select it and play with your new skin.
Minecraft Skin Editor Ideas
Now that you know how to make skins and upload them, here are a few ideas for inspiration for your next skin.
1. Make your favorite superhero
Superheroes are a really fun skin choice. Here is an awesome Spiderman skin that can be built off of. Try to edit this skin to make your favorite version of Spiderman (or choose your favorite superhero).
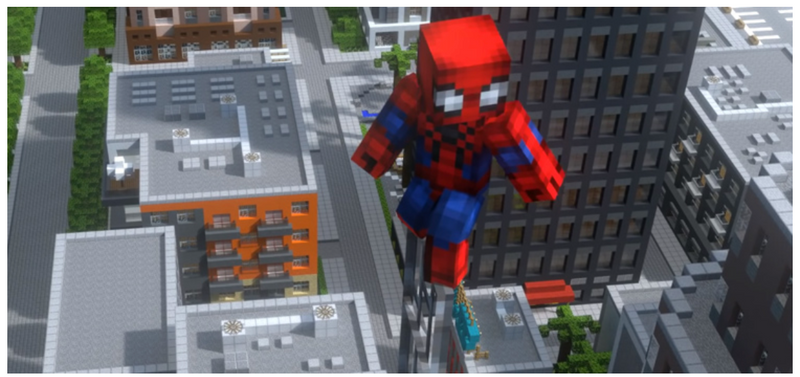
How to get this Minecraft skin: Spiderman Skin.
2. Your favorite video game character
This one is a super interesting idea because there are thousands of video game characters to choose from. You can even edit their clothes and other accessories to differentiate your skin from the rest of the pack! We chose a skin from the popular game Stardew Valley (Abigail).
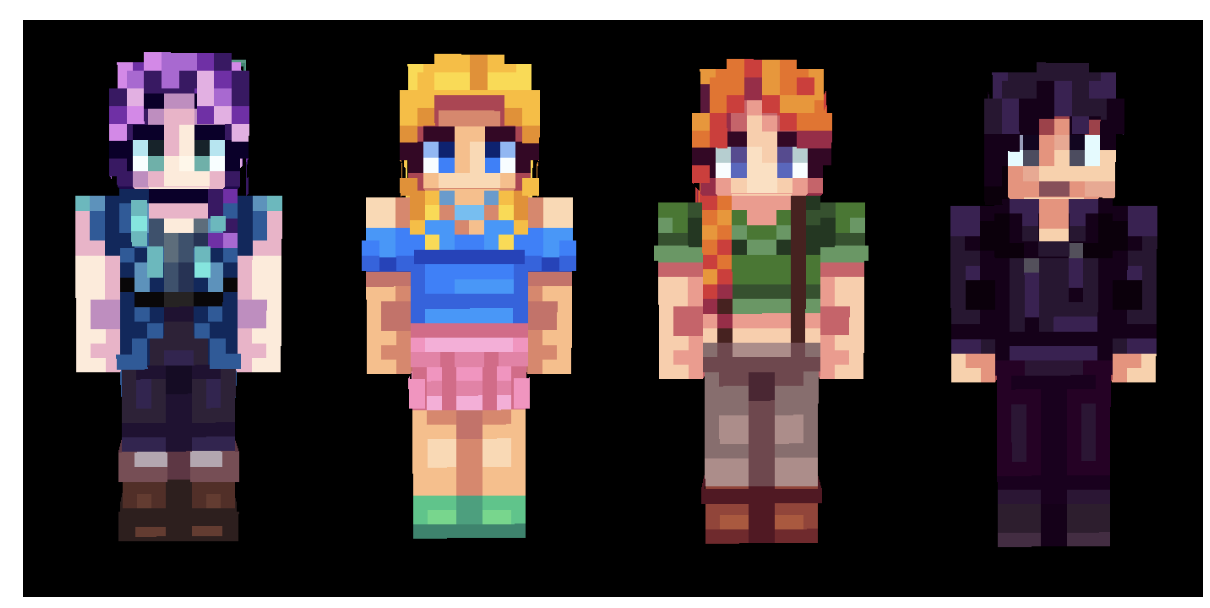
How to get the Minecraft Skin: Abigail Skin
3. Your favorite animal
Animals come in all shapes, sizes, and colors. Minecraft skin creation is no different and is limitless when it comes to your creativity. Make a purple penguin, put a rabbit in a dress, or put a hat on a chicken. Try editing the animal skin linked below.
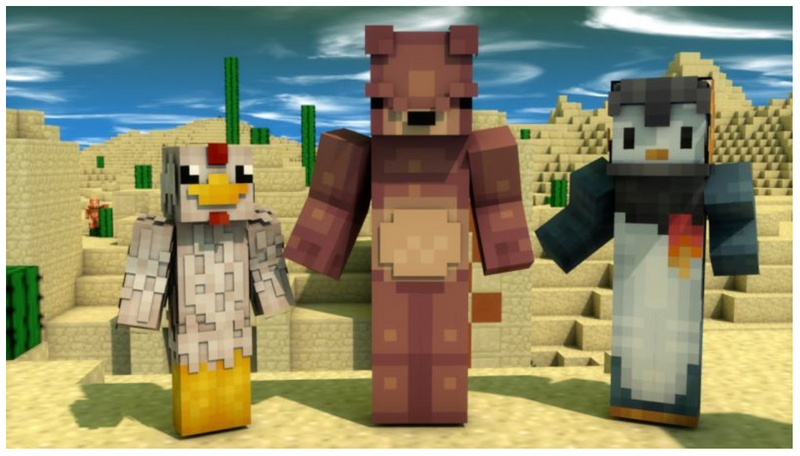
How to get the Minecraft Skin: Chicken Man Skin
Make More Custom Minecraft Experiences
Up next, learn how to code Minecraft mods and Minecraft Education Edition mods.
Help your child customize their Minecraft experience by creating their own buildings, animals, and more, when you enroll them in a live online Minecraft modding class designed by professionals from Google, Stanford, and MIT.
Written by Chris Youngs, who worked on Minecraft for over four years. He spent most of that time testing Minecraft: Education Edition, with a heavy emphasis on the CodeBuilder feature. He joined the Create & Learn team to help teach young students the basics of programming with Minecraft: Education Edition.


