$40$15.0063% Off2-3 students group class


Learning Hours
Projects Created
Countries


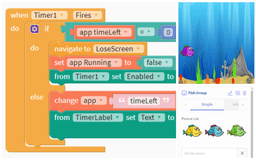
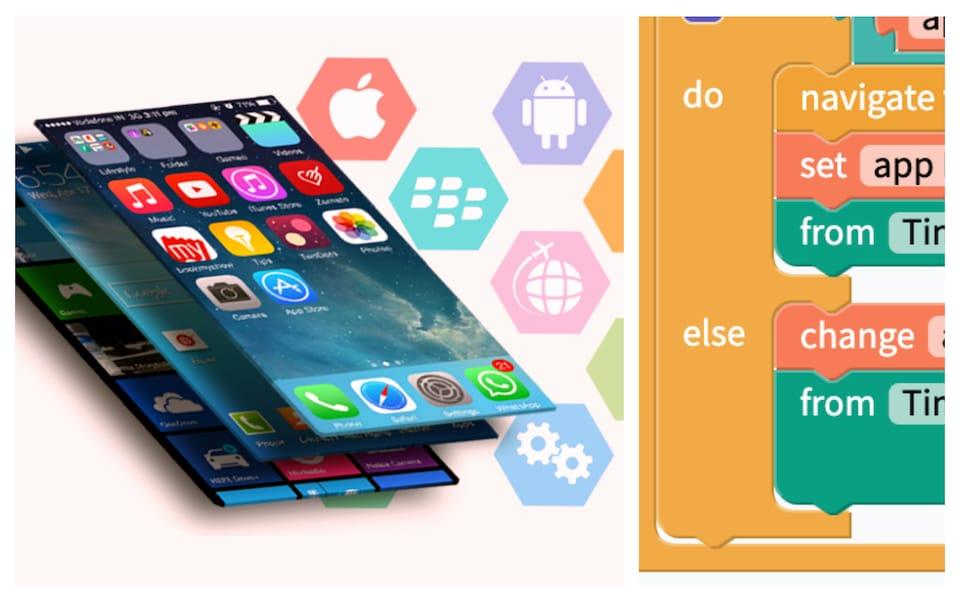
Create powerful mobile apps and games with professional block coding platform Thunkable
Learn how to code mobile apps in small, live group sessions. Every year, many billions of apps are downloaded to mobile phones. However, building high quality mobile apps has been beyond reach to younger coders. But not any more!
Throughout this course, students will learn how to create fun apps and games for mobile devices. It is also a great way deepen your child's computational thinking skills and learn how to apply key coding concepts in different scenarios.
The class uses Thunkable, a block based programming platform for professionals. It is easy to use, yet very powerful, and is used by many to develop commercial applications. Some key things student will learn about mobile programming are:
Design layout and UI of mobile applications
Enable various UI elements for display information, data inputs, and event handling
Use different mobile features such as device sensors, touch screen, gyroscope, camera, and more
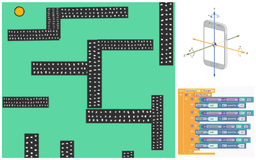
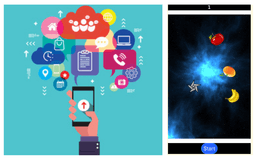
Build projects and fun games that involve image recognition, popular use cases, and fun activities.
Create complex applications that involve networking and multi-user apps!
Learn advanced cloud computing concepts such as cloud variables, cloud storage of image data, Airtable, Firebase, and authentication.
After taking this class, you child will be comfortable with building a wide range of mobile games and apps, and can apply them to various school projects, science challenges and competitions, and even build a simple app for a real business. A great competition to participate after this class is the Congressional App Challenge held by US Congress every year.
Students should have taken Scratch Ninja or Accelerated Scratch class, before taking this class. The class is also suitable for students who have take Python and/or Javascript classes, because of the Mobile programming and Cloud Computing elements.

Don't see a time that works for you? Click here to request another time.
Designed by Stanford, Google & Apple Experts with kids in mind.
We'll help you find the right class, always. Love it or get a full refund.
US-based, background checked, highly trained and 3+ years of experience in their fields.
Show the world you did it. You really did it!
Grades 5-12
Learn a real-world programming language, with a focus on AIGrades 6-12
Develop web pages using HTML, CSS, and JavascriptGrades 4-9
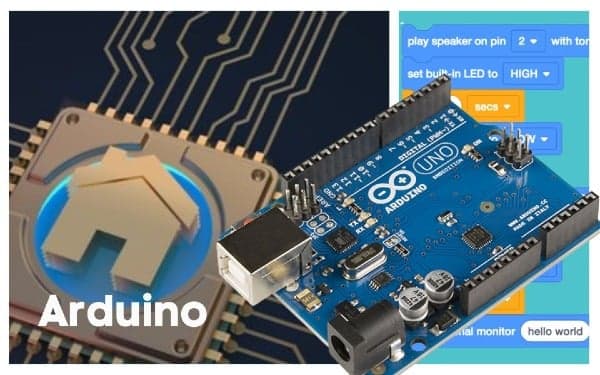
Create with circuits and Arduino - the foundation of robotics and smart devicesGrades 5-12
Develop beautiful websites fast using WixGrades 6-12
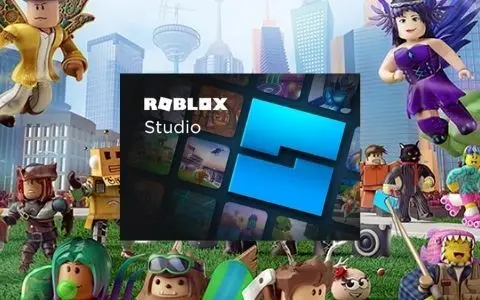
Create Roblox games using Lua in Roblox StudioGrades 6-12
Build advanced scalable web apps using cloud computingIf you are deciding whether Mobile Coding for Apps and Games classes are the right fit, take a look at what families say about their learning experience.