Note: This tutorial is intended to be used with Minecraft Bedrock edition. If you have Minecraft Java, you can get Minecraft Bedrock for free by following the instructions here.
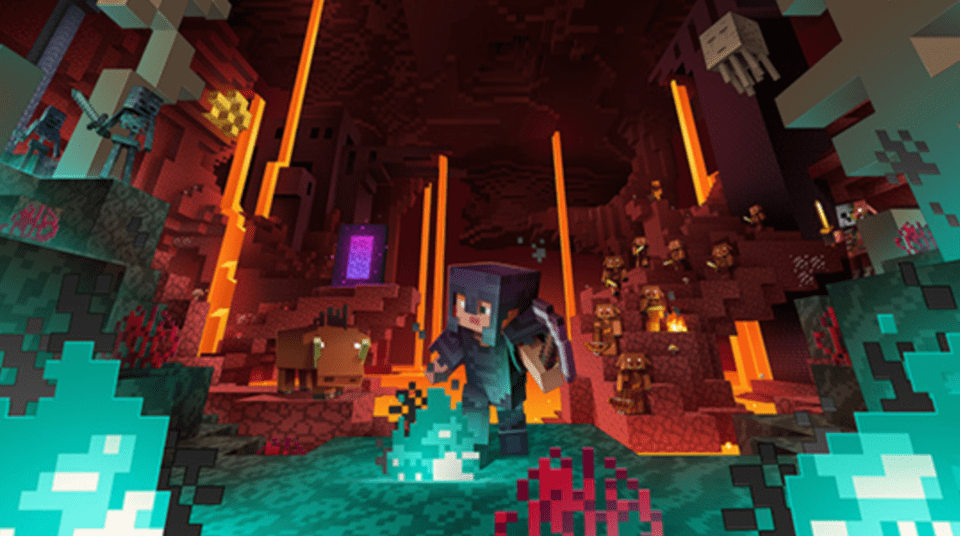
Imagine you are walking around your Minecraft world and, instead of their typical white, all of the birch trees are rainbow colored. Or, better yet, imagine that every time you place a cobblestone block, your face is overlaid over the default cobblestone texture. As it turns out, by editing the default Minecraft textures, all of this and more is possible! Read on to learn more about how to edit Minecraft textures, which will not only allow you to fully customize your Minecraft experience, but also will increase your computer skills as well!
Would your student like to learn how to modify their Minecraft games all sorts of creative ways? Start learning Minecraft coding with a free Minecraft Escape Event.
Learn How To Edit Minecraft Textures
In this example, we will be editing and customizing the birch tree texture so that all the birch trees we encounter in Minecraft are rainbow colored. Follow the steps closely to customize your Minecraft world!
1. Show hidden items and file extensions

In order to edit Minecraft files, we will need to change two settings on our computer - hidden items and file extensions. Open File Explorer on your computer by clicking the folder icon.

Next, click view at the top of the window and check the boxes next to File name extensions and Hidden items. Once you have those boxes checked, you are ready to move on!
2. Find the com.mojang folder
The com.mojang folder is hidden inside many other folders, so we will have to locate it. You can find it by doing the following:
Press Win + r to open Run; then, paste in
%localappdata%\Packages\Microsoft.MinecraftUWP_8wekyb3d8bbwe\LocalState\games\com.mojang
and press OK
If done correctly, the com.mojang folder will open. We will be doing a lot of work in this folder, so be sure to keep it open!
3. Create a Text Document
Within the com.mojang folder, open development_resource_packs
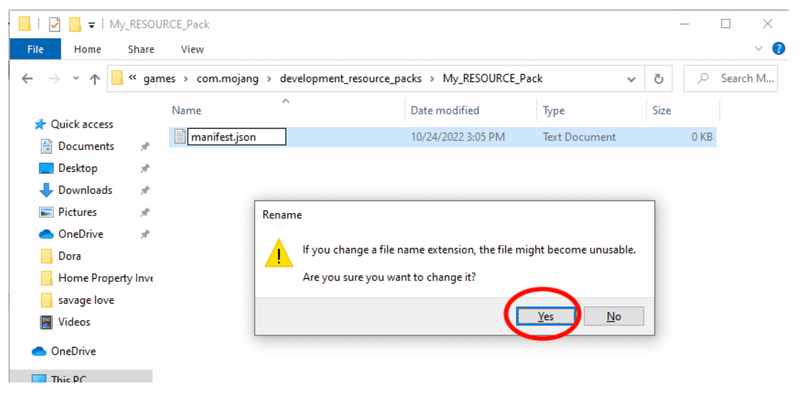
Within development_resource_packs, create a new folder called My_RESOURCE_Pack
Open your new My_RESOURCE_Pack folder, right click, mouse over New, and click Text Document. Name the new text document manifest.json, ensuring that you delete the .txt at the end.
Press Yes on the warning that appears.
4. Open manifest.json
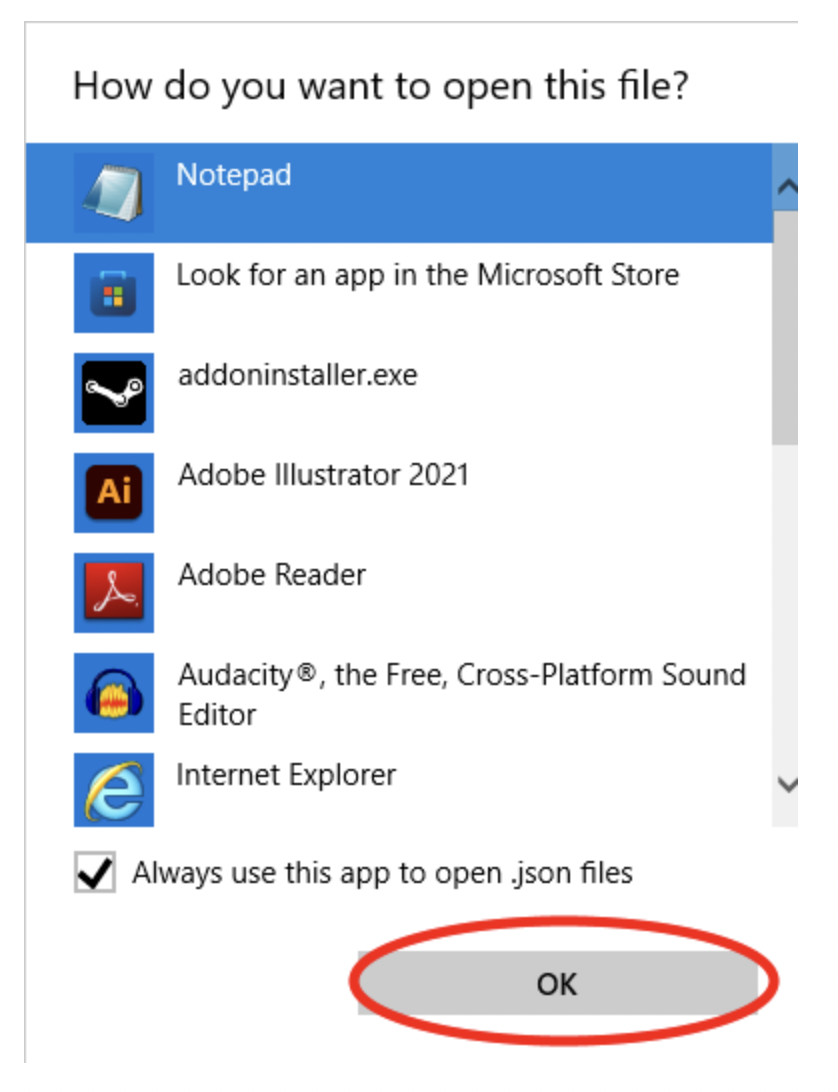
Right click on manifest.json, click Open With, click more Apps, and click Notepad. The file should open up with the Notepad app.
5. Edit manifest.json
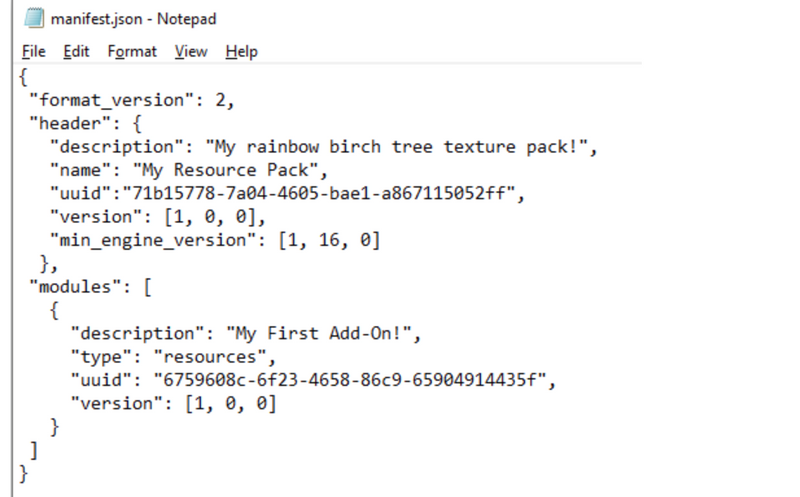
manifest.json will contain general information about the texture pack we are creating, such as a description and name. Copy and paste the following code into the open manifest.json file and leave the file open for the next step
{
"format_version": 2,
"header": {
"description": "My rainbow birch tree texture pack!",
"name": "My Resource Pack",
"uuid":"",
"version": [1, 0, 0],
"min_engine_version": [1, 16, 0]
},
"modules": [
{
"description": "My First Add-On!",
"type": "resources",
"uuid": "",
"version": [1, 0, 0]
}
]
}
6. Edit the UUIDs
UUID stands for Universally Unique Identifier, and it is a number used to identify software. We will need two special UUIDs for the code we are writing. Go to UUID, copy the UUID from the top of the page, and paste it between the quotation marks in the first UUID field in manifest.json.
Then, refresh UUID to get a second, different UUID, and paste that UUID between the quotation marks in the second UUID field in manifest.json. It’s important to note that the two UUIDs must be different. Also, ensure that you keep the quotation marks on each side of the UUIDs.
When you are done, your code in manifest.json should look similar to the image above, although your UUIDs will be different than those in the example. When you have completed your code, save and close manifest.json.
7. Create New Folders
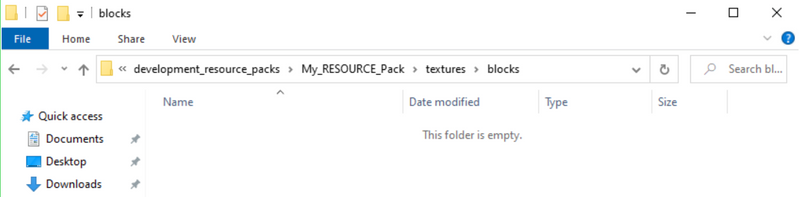
Inside My_RESOURCE_Pack, create a new folder called textures
Open the textures folder and, inside, create a new folder called blocks
Open the new blocks folder and you are ready for the next step!
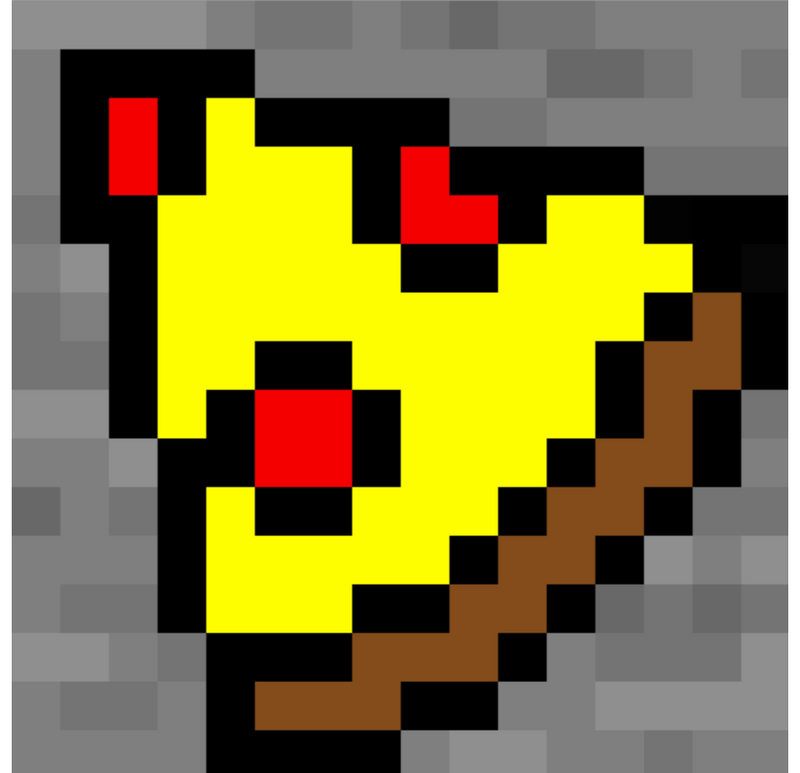
8. Create a Custom Minecraft Texture
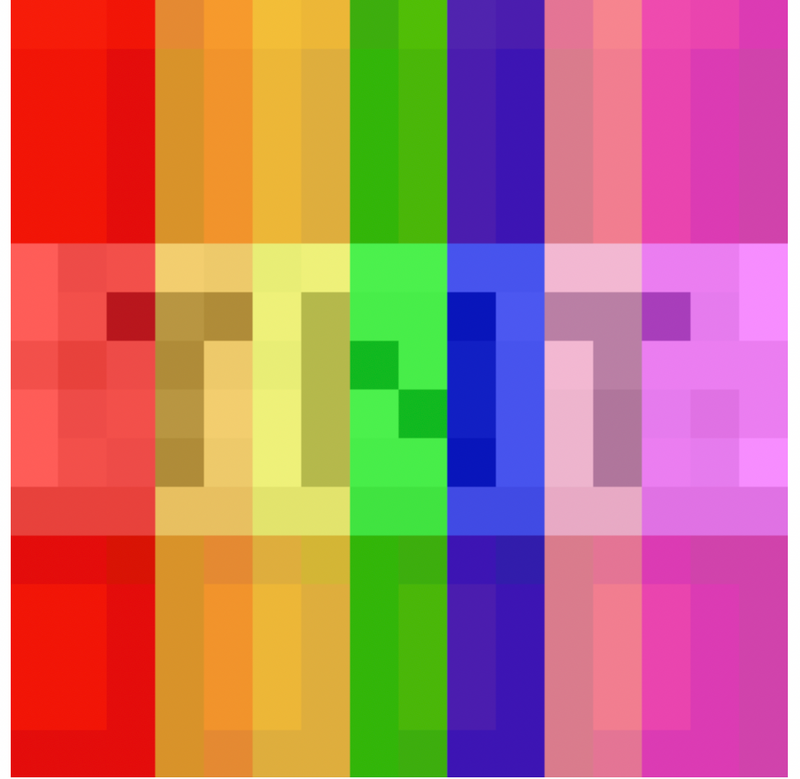
Now, it’s time for the fun part - creating a custom block texture! Your block texture can be anything you wish, as long as its dimensions are 16x16 pixels. You can use any image editor to create the new texture. The Windows default program Paint works great, for example. To edit the canvas size in Paint, click file -> properties and change the Width and Height to 16. Then, you can draw to create a custom texture.
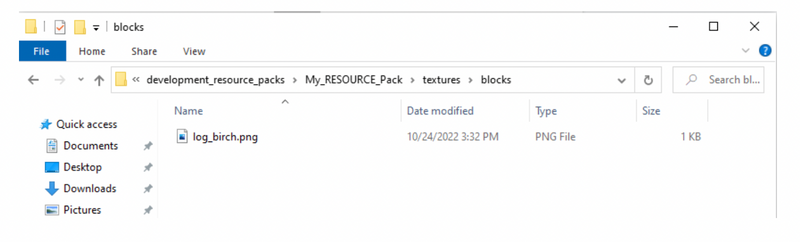
For this project, as you will recall, we are working to make our birch trees rainbow-colored. We have already created a custom texture for you to use for this example. Right click the image below, click save as, and save the file in your blocks folder. Ensure the file is named log_birch.png
Download here (make sure it saves as 16 x 16 pixels, so it works in Minecraft):

9. Create a New Minecraft World

Our texture pack is complete; now, all we need to do is load the pack into a new Minecraft world.
Open Minecraft Bedrock Edition and press Create New to make a new world. Click on Resource Packs, open MY PACKS, and find My Resource Pack. Press Activate underneath the resource pack. Then, press Create to create the new world.
NOTE: You may also edit an existing world and follow these steps to load your texture pack into a world you have previously created
10. Enjoy your Minecraft texture pack!
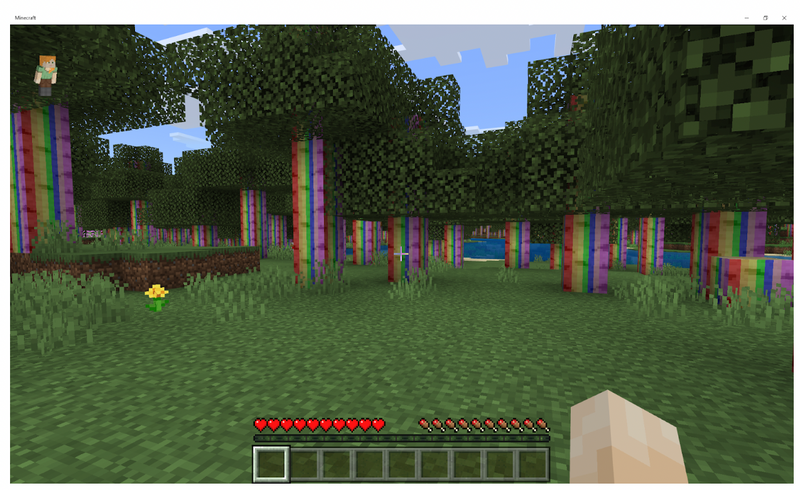
Congratulations! You have successfully created a texture pack to customize your Minecraft world! Now that you have finished the difficult part of creating the manifest.json file and all the folders, it is quite easy to add additional textures to the game.
To do so, simply create a new 16x16 pixel texture in any image editing platform and save it as name_of_item_to_be_updated.png within your blocks folder. To find the appropriate name, search for the item on Minecraft Item IDs, and look for the item ID under the ITEM ID column. However, be sure to ignore the minecraft: listed at the beginning. For example, if you wanted to modify the diamond block texture, you would create a new file called diamond_block.png and save it in your blocks folder.
Explore Some Of The Best Custom Minecraft Texture Blocks
Even though it is a blast to create your own custom Minecraft textures, it can also be great to use textures that others have created. Here are some of the best custom Minecraft textures from this year that you can use in your own Minecraft world. We have included both a large version of the block for you to see, and a smaller version underneath which can be downloaded and used in your world as you wish.
1. Rainbow TNT Texture Block
Similar to the rainbow birch trees, rainbow TNT will make your Minecraft world a bit more colorful. What could be more fun than blowing up your enemies with rainbows?
Download here:

2. Dog Block

If you are an animal lover, perhaps you would enjoy editing a Minecraft block to look like a dog. Woof!
Download here:

3. Golden Bricks Minecraft Texture
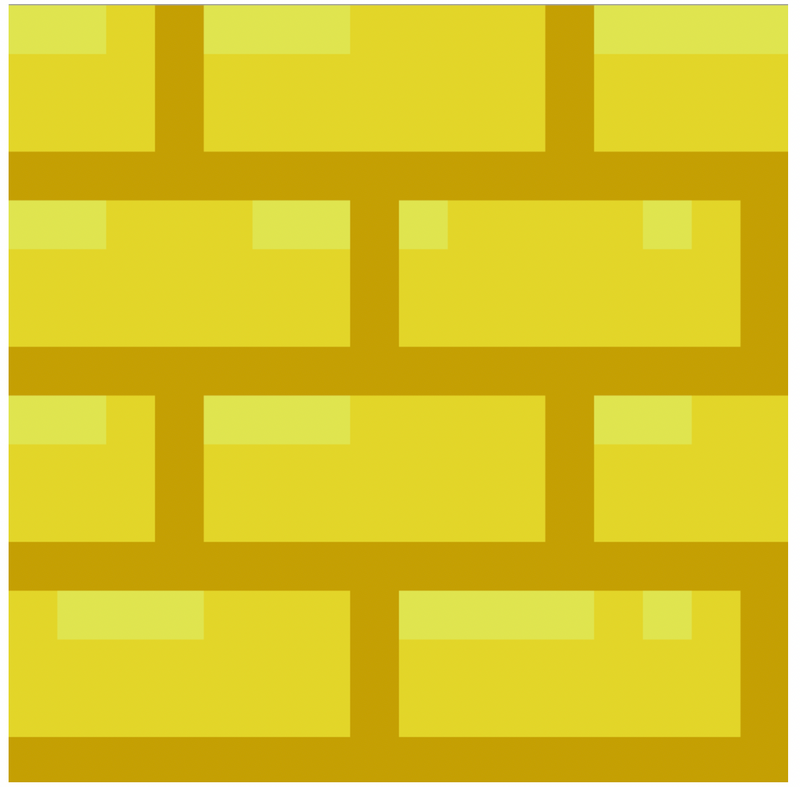
If you’re hoping to make your buildings just a bit more fancier, perhaps a golden brick could help! Use this custom texture to build the most sophisticated-looking buildings.
Download here:

4. Pizza Stone Texture
All that mining may make you hungry! Although, now that we think about it, we're not sure if staring at pizza while you mine will help or hurt…
Download here:

5. Among Us Block

There’s an imposter in Minecraft! Watch out!
Download here:

Get Started Editing Custom Minecraft Textures
Congratulations on becoming a master of custom Minecraft textures! Up next, learn more Minecraft commands.
Your student might also enjoy learning how to incorporate more advanced blocks such as redstone, pistons, and observer blocks to build holiday lights, automatic doors, and even flying machines inside Minecraft in our live online Minecraft Redstone Engineering class, designed by experts from Google, Stanford, and MIT.
Thanks for reading, and happy coding!
Written by Matt Schofield, an educator and avid coder. After studying Spanish at the University of Pennsylvania, Matt began teaching English as a second language to elementary students in Baltimore. In addition to his full-time teaching position, Matt enjoys teaching computer science in the evenings and weekends with Create & Learn.