

WorldEdit commands give you the ability to instantly create structures, replace large amounts of blocks, and copy and paste large chunks of the world with just a few words! So let's learn how to run world edit commands in your LearnToMod server. Today we'll walk you and your child step by step through using some simple commands.
Bring all sorts of cool ideas to life in Minecraft when you join our live online award-winning Minecraft Quest (grades 2-5) and Minecraft Code to Mod (grades 5-9) classes designed by experts from Google, Stanford, and MIT. There's no risk in trying with our free Minecraft TimeTravel Coding Intro Event!
How do I install WorldEdit?
That’s the best part, you don’t have to do anything! Simply start your LearnToMod server, and join your world.
Start and Join Your Server
Click on the green box in the home page, or go to Play > My Server. Then, click on Start Server.
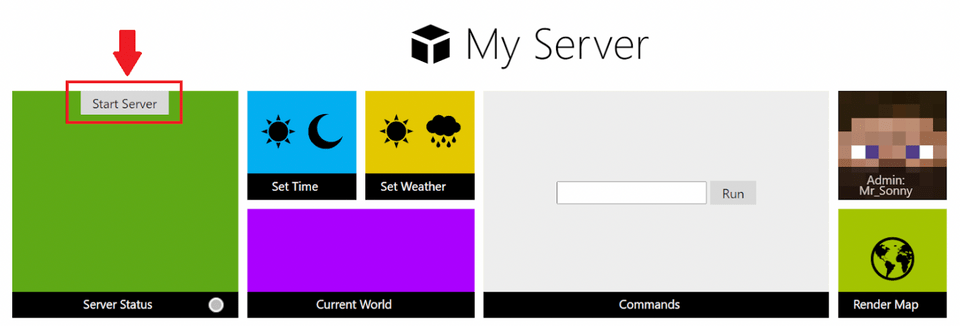
This will start one of LearnToMod’s servers, build a world, and then return the I.P. address of that server. It will take anywhere from five to ten minutes. While this is loading open Minecraft - specifically the 1.9.2 Java version for PC or MacOS.
In Minecraft go to Multiplayer > Direct Connect, and enter the I.P. address in that text field. Then, click Join Server.
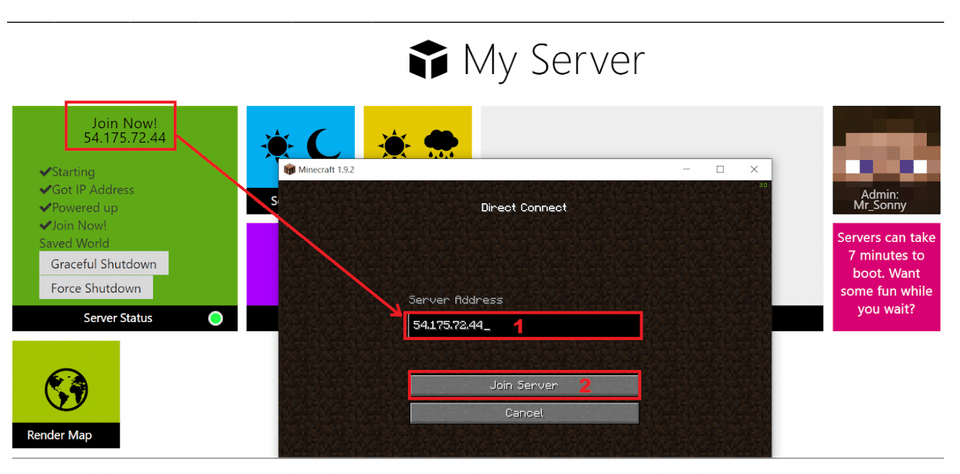
Once inside your server, you’re ready to run WorldEdit commands!
How to use WorldEdit commands
Regular Minecraft commands are prefixed with a forward slash (/). For example, if you want to summon a pig you would type /summon Pig. On the other hand, WorldEdit commands are prefixed with two forward slashes. For example, if you want to generate a stone sphere with radius 20 you would type //sphere stone 20.
As mentioned above you can do various things with these commands. Let’s first explore the WorldEdit commands for generating structures.
Discover Generation Commands
In this section we’ll explore the three most common types of structures: a pyramid, a cylinder, and a sphere. These can be built solid or hollow.
Be careful, when you build a structure you end up in the center of them. So, if you build a solid structure you will get stuck. To get yourself out of the structure you can use this other WorldEdit command: //unstuck . Another useful command is //undo, which will revert the last command you executed.
1. Pyramids
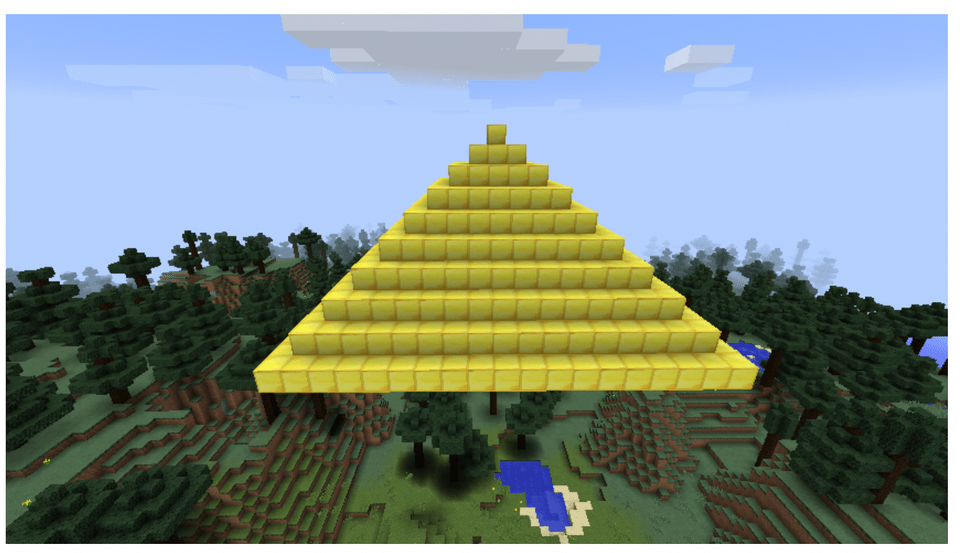
The pyramid command needs a type of block and a size. For example, this command //pyramid gold 10 will create this:
If you want to build a hollow pyramid you need to use ‘hpyramid’ instead, like this //hpyramid diamond 15. This is the view under the pyramid so you can see the hollowness:
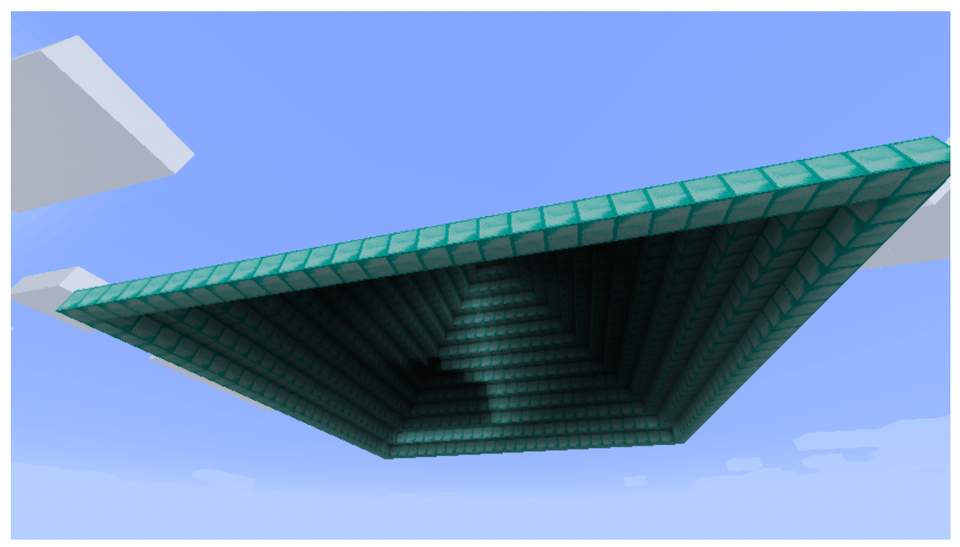
Note: Hollow pyramids do not have a floor.
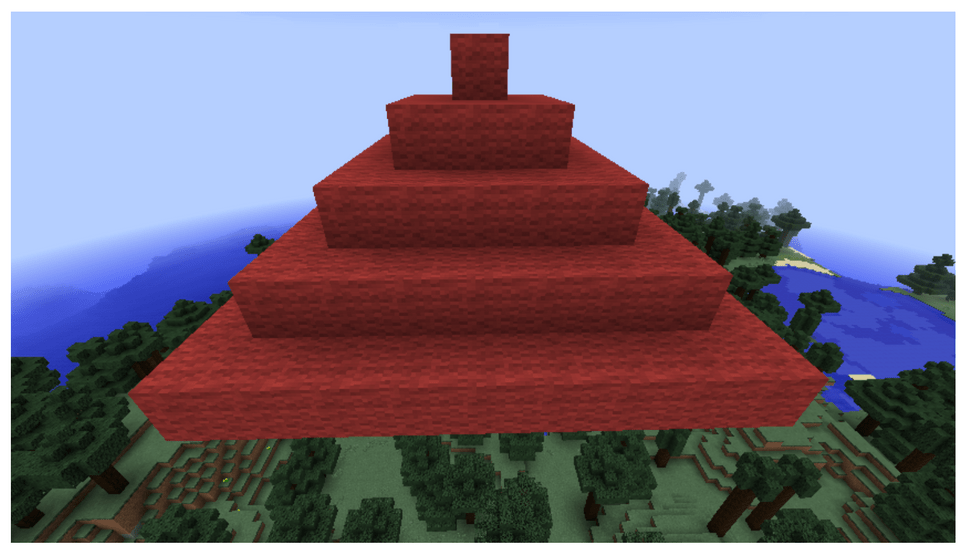
Besides using the names of blocks you can also use the Minecraft block IDs. For example, the ID for red wool is 35:14. So, if you run this command //hpyramid 35:14 5, you’ll get this:
2. Spheres
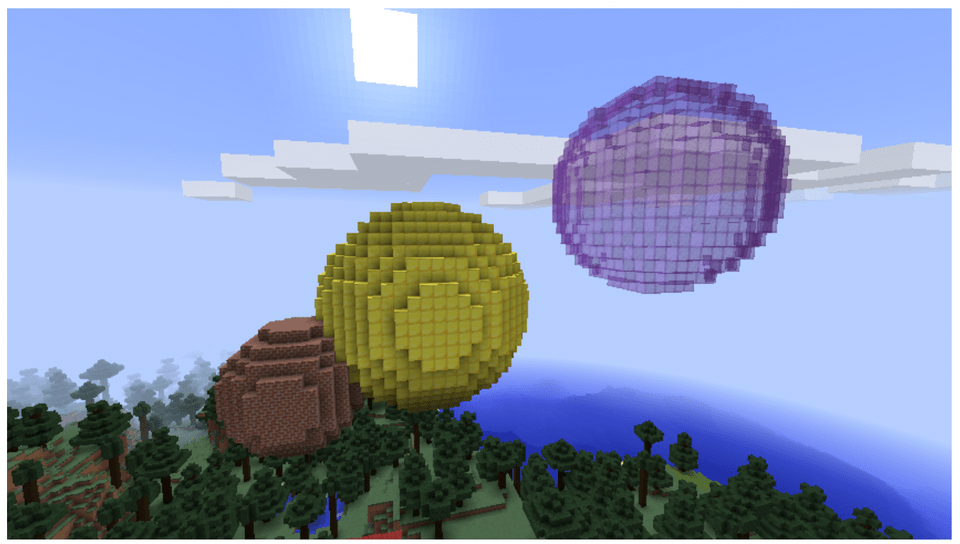
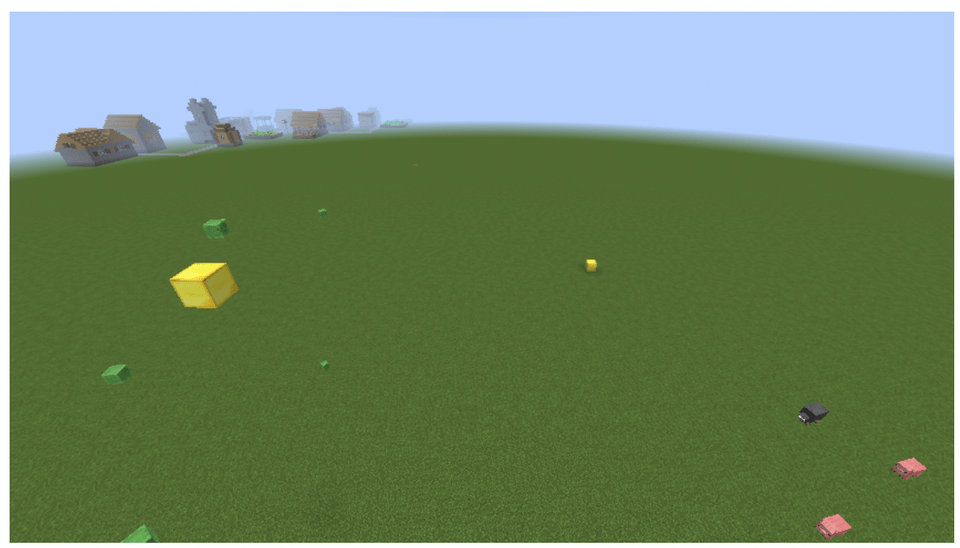
The sphere command also needs a type of block and a size. For example, these commands will create the spheres in the following image.
//sphere brick 5
//sphere gold 10
//sphere 95:10 8
Now if you build a hollow sphere you also have to type an ‘h’ before the word sphere. For example, //hsphere dirt 7 will create this:
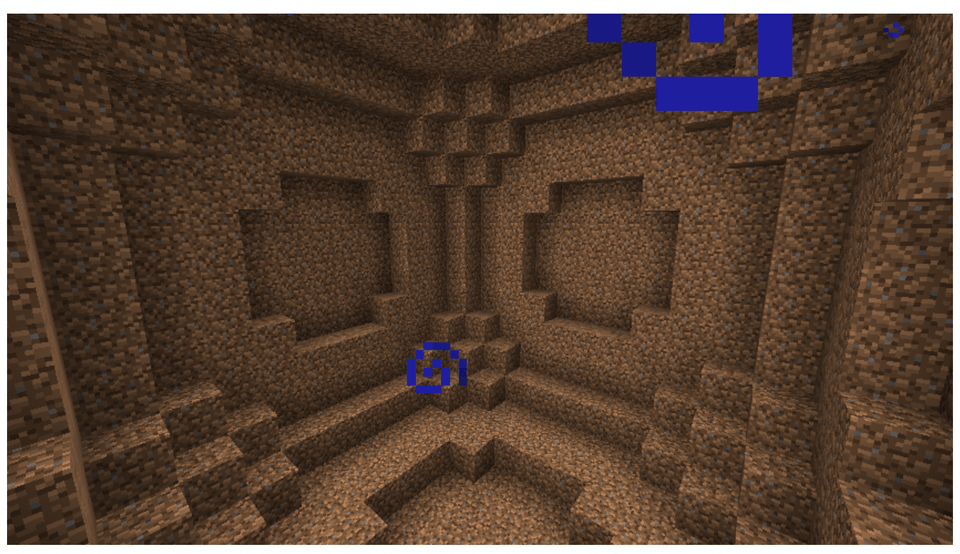
Note: We're using a night vision potion so we can see inside of the sphere.
3. Cylinders
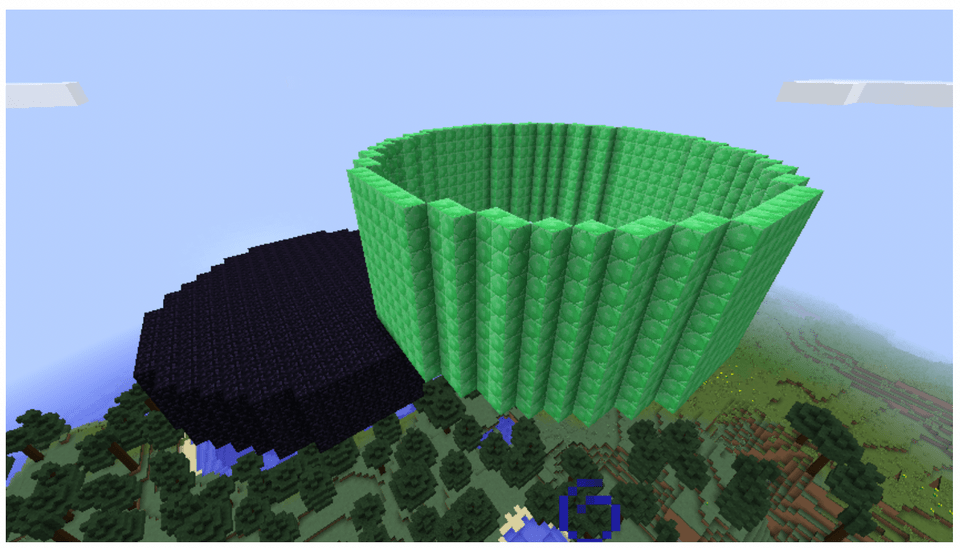
Cylinders are a little different because they require a third parameter. Besides type of block and radius, the command also needs a height. The command is just ‘cyl’, and hollow cylinders also need an ‘h’. Here are some examples:
//cylinder obsidian 10 5
//hcylinder emerald 12 10
Combining structures
You can combine these commands in a sequence to create complex structures, like this:
//hsphere glass 10
//hcyl brick 10 5
//cyl wood 10 1
Explore Region Commands
Besides creating the already mentioned structures with WorldEdit commands you can also change the blocks of a predetermined area. Before running these region commands you first have to define a position 1 and a position 2. Think of these positions as the opposite corners of a box.
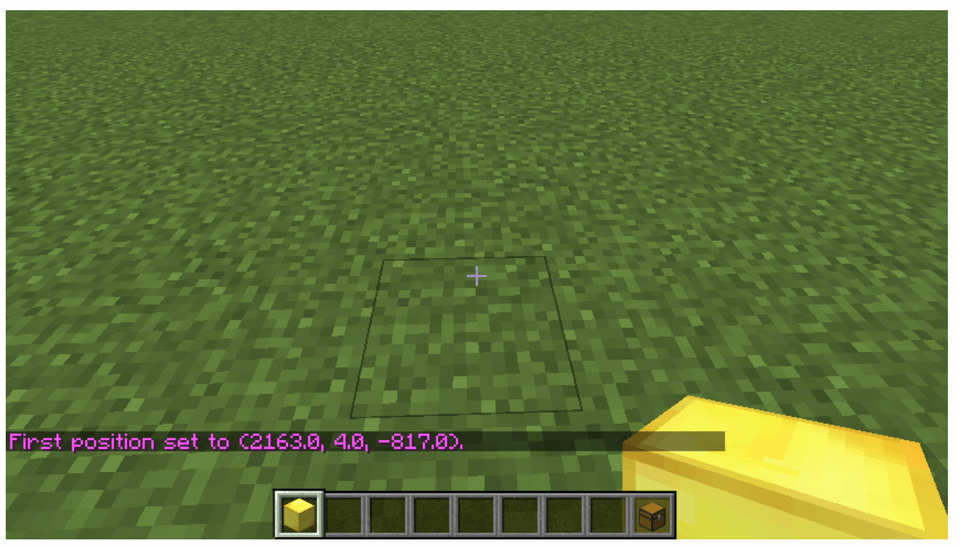
Once you find the area of the world you want to change type in //pos1. This will set your current position to position 1.
Then go to the opposite corner of this area and type //pos2. This will set your current position to position 2.

Note: We manually placed the gold blocks shown as a visual representation of position 1 and 2.
Now you’re ready to run the following commands:
- //set [BLOCK] - sets all the blocks from the region to a specific block
- //walls [BLOCK] - builds 4 walls of a specific block around the outer edges of the region
- //outline [BLOCK] - covers every outer part of the region with a specific block
- //replace [FROM_BLOCK] [TO_BLOCK] - replaces all the blocks in the region from one type to another
//set Command
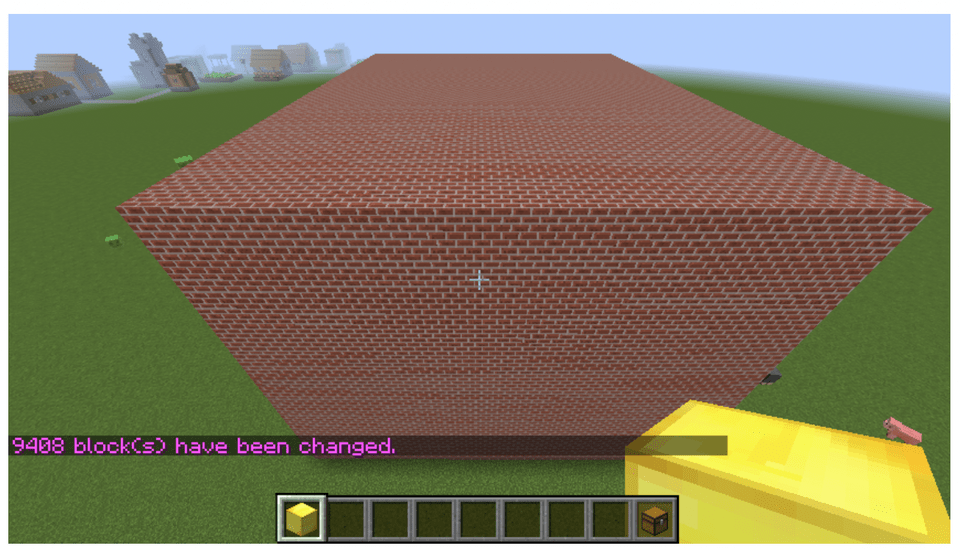
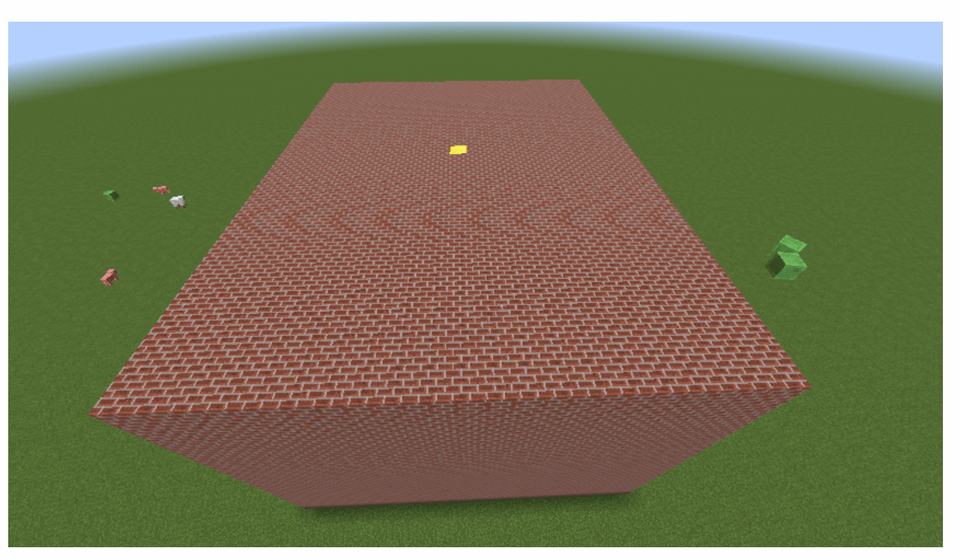
The set command just needs a type of block as a parameter, let’s run an example. Executing //set brick creates this solid box of brick blocks:
//walls Command
The walls command also needs a block type as a parameter. I’ll run //undo to get rid of the brick blocks and then run //walls diamond to get this:
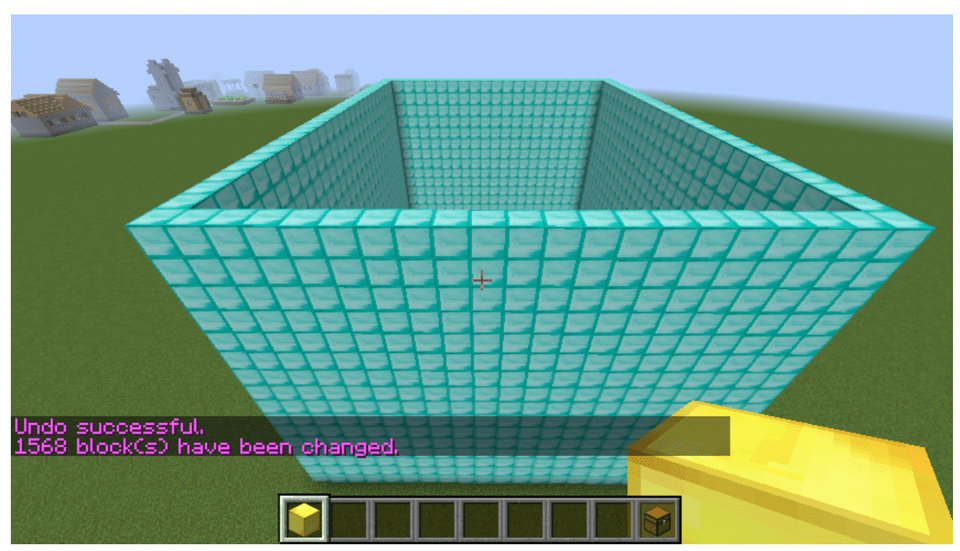
Note: Remember, the walls command does not build a floor nor a ceiling.
//outline Command
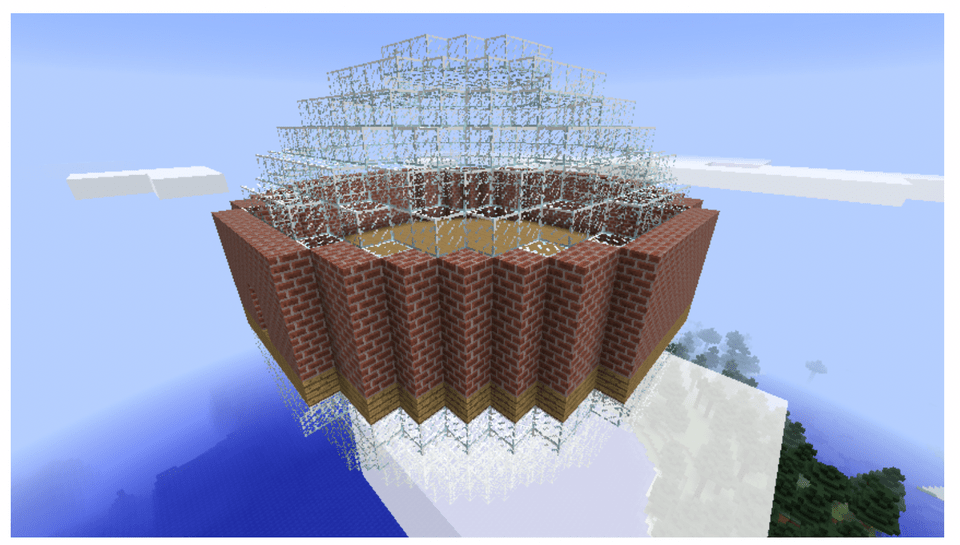
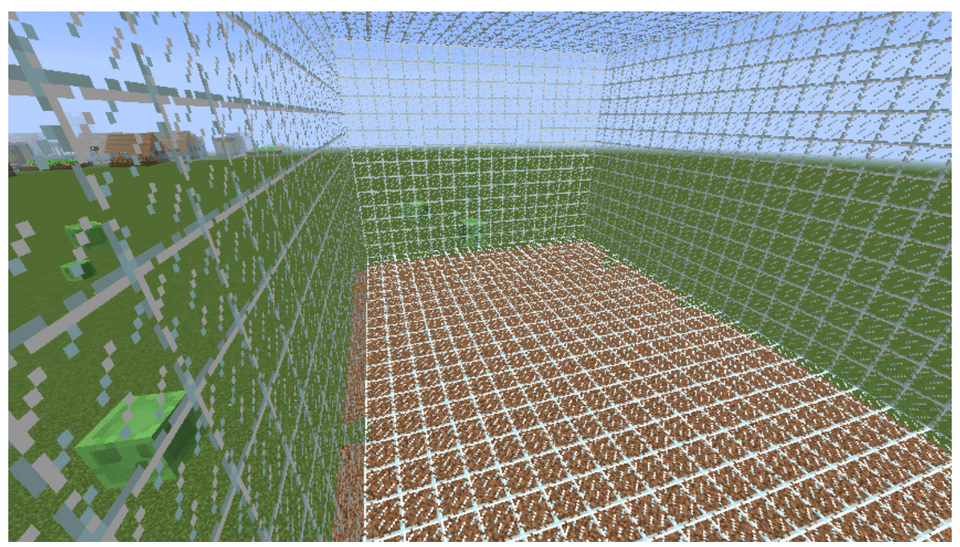
If you want a hollow box you can use this command, that also needs a block type as a parameter. If we run //outline glass we get this:
//replace Command
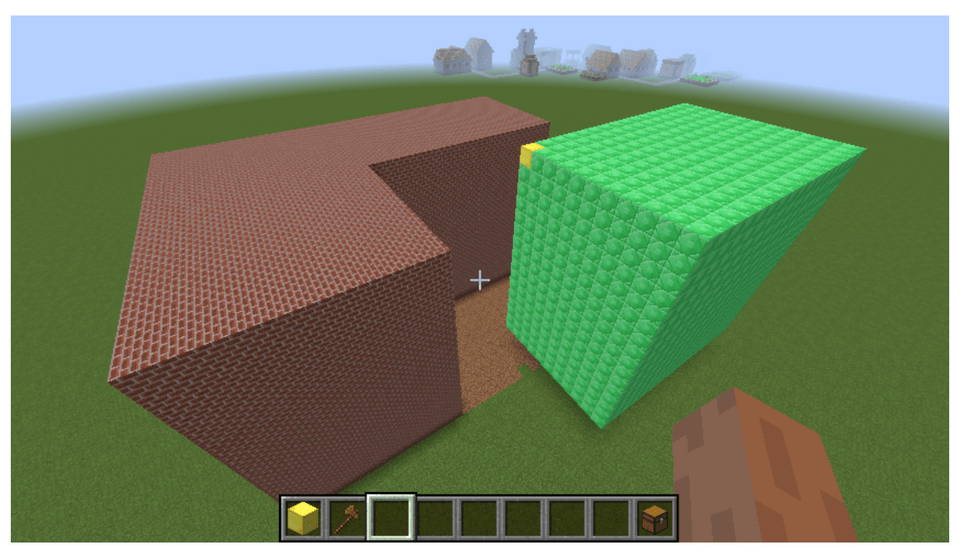
Finally, to show how the replace command works, we’re going to undo our commands and go back to the solid box of bricks and pick a different position 2. We went to the middle center of the top of the box and ran //pos2. We placed a gold block to easily identify it:
Now, the replace command needs two block types as parameters. The first one is the “from” and the second block is the “to”. For example, if we run //replace brick emerald, we get this:
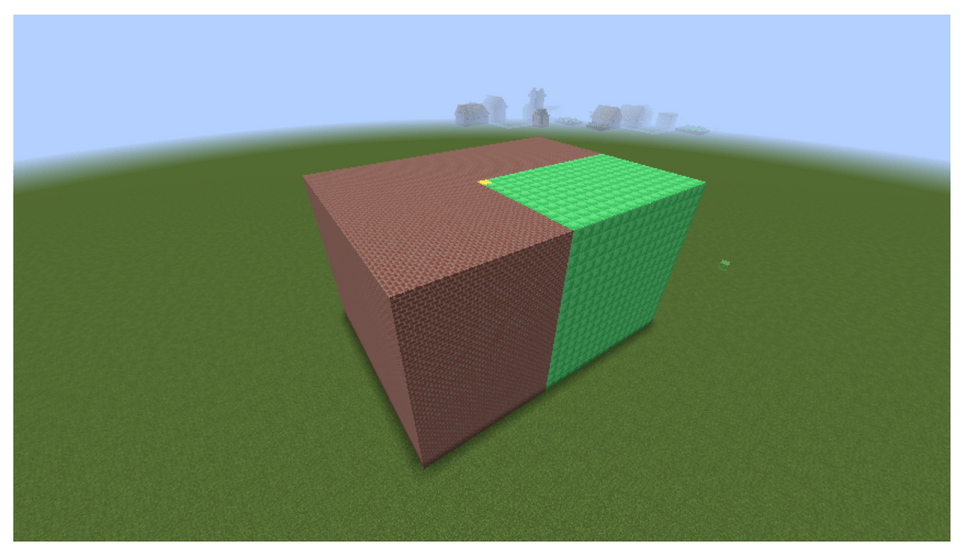
Note: The command replaces all the brick blocks between position 1 and 2 to emerald blocks.
Clipboard Commands
These commands give you the ability to copy, cut, and paste large chunks of the world and put them anywhere you want. Let’s run through some examples. Currently, our region is the emerald box.
After running //cut this happens:

Then, after flying somewhere else we ran //paste, and the emerald box is pasted where our player was located:
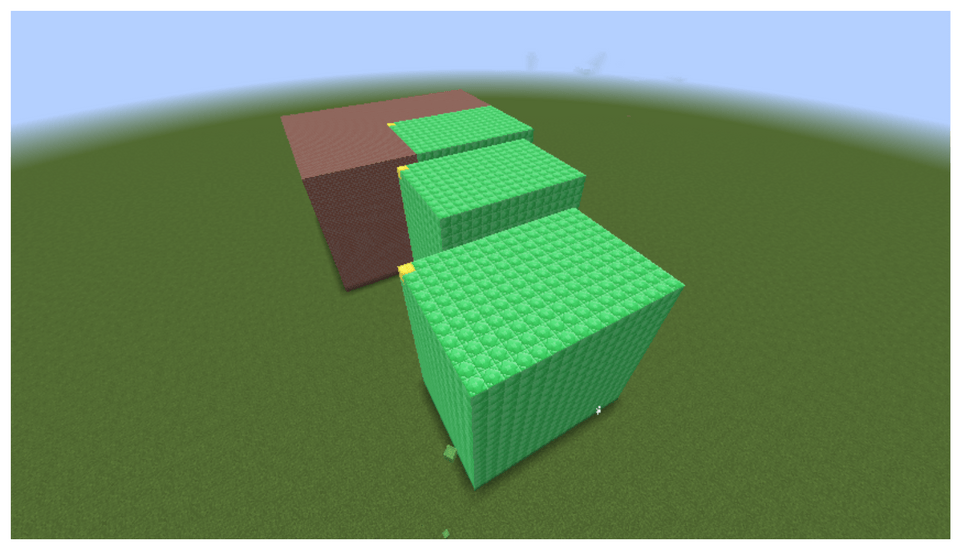
Finally, we ran //undo to put the emerald blocks back in their original spot, and then ran //copy to save those blocks in the clipboard. We flew away from it and ran //paste, then flew further away and ran //paste again:
Get Started With World Edit Commands
Now that you know about WorldEdit commands you can start and join a LearnToMod server and give it a try! If you want to know the rest of the commands just visit this page. Up next, learn more about Minecraft modding, and join a live online Minecraft coding class designed for kids:
Written by Sonny Najar, a Create & Learn instructor. After earning a BS in Computer Science, he began creating software and curriculum in 2015 that made learning Computer Science fun and engaging for K -12 students.
