

Today we're going to give you a micro:bit introduction, because it's a great way to get your child engaged in STEM projects. Would you like your child to learn about electronics and how to program them? Do you desire to have this electronic device be compact and easy to use and understand?
If you answered yes to any of these questions, then you’ve come to the right place! micro:bit coding is one of the most fun learning experiments for children, and today we'll provide an introduction to this fantastic tool, as well as a tutorial on ho to make a cool animation with micro:bit and even more beginner projects to try.
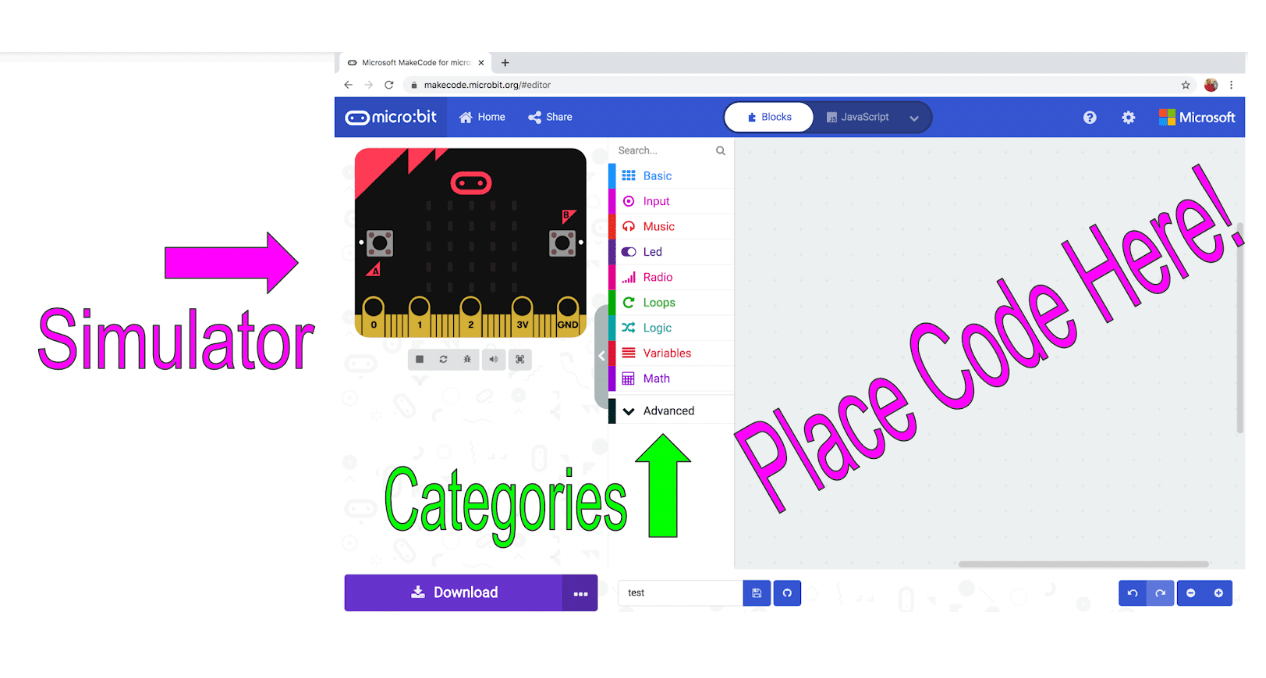
Learn how to control electronic components such as led light, speaker, and sensors while building fun games and interactive experiments in our live online Lights & Beats with Micro:Bit course. Our instructors incorporate the MakeCode micro:bit website, a free-to-use website that includes a simulation of a micro:bit, the device. So, your child can do everything in a simulator first to test out how the Micro:Bit works without buying the device.
Micro:bit Introduction for Kids
Discover what the micro:bit is, why it's helpful for children to learn to code with a micro:bit, and much more. So let's get started.
What is a micro:bit?
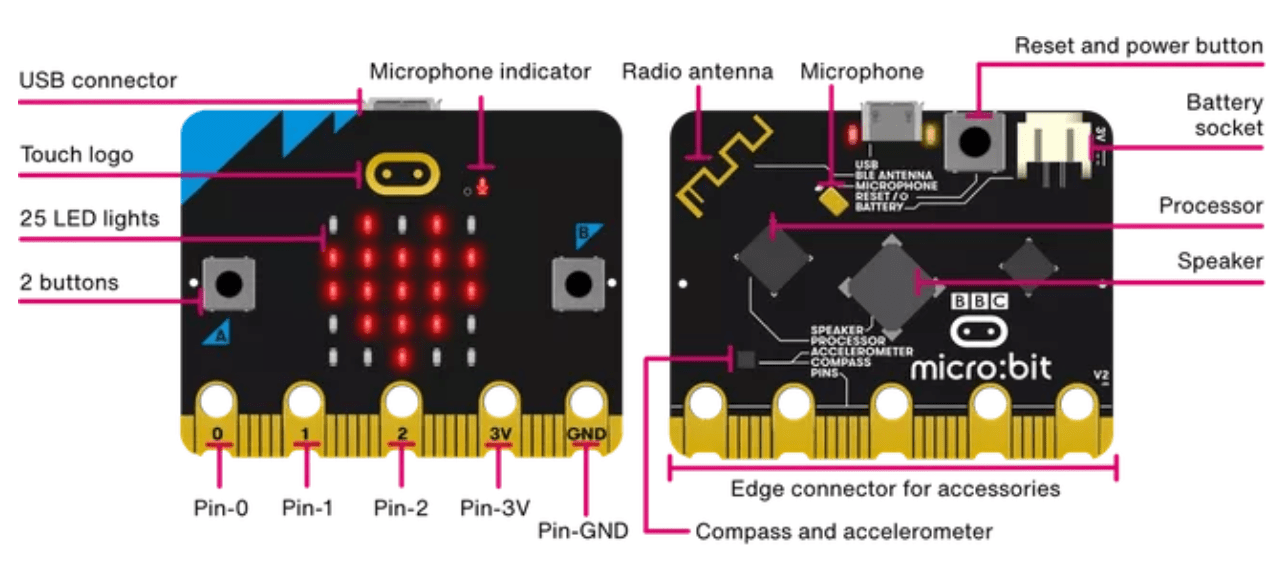
The BBC micro:bit is a pocket-sized computer that introduces you to how software and hardware work together. It has an LED light display, buttons, sensors and many input/output features that you can program and physically interact with. The latest micro:bit adds sound sensing and playback capabilities.
The front of BBC micro:bit has 25 programmable LEDs arranged in a 5 x 5 grid, two programmable buttons (really three because you can program A & B together), a programmable touch logo and microphone indicator. The back of the BBC micro:bit has the microphone, processor, speaker, radio/bluetooth antenna, accelerometer, compass.
There is also a built in light sensor and temperature sensor on the micro:bit as well as pins along the bottom that can be used to connect accessories. The BBC micro:bit can be plugged into a computer with a USB connector or accessed through their app on a tablet. The battery pack can be connected to the BBC micro:bit to provide portable power on the go.
Why should kids learn to code with the micro:bit?
Coding with the micro:bit encourages kids to gain basic skills preparing them for today’s modern digital world. The BBC micro:bit integrates the code kids write with the embedded hardware to create interesting projects, while teaching them how to control hardware through programming. This promotes an understanding within kids by demonstrating they have to program the hardware to respond to their code and input.
Plus it’s easy to get started and fun! You don’t even have to own a micro:bit to start a project. The MakeCode website allows kids to start coding the micro:bit and see the results right in the simulator.
It also has tutorials to help get kids started creating their own. To help your child start their first project with micro:bit, without even purchasing the device, check out our latest blog post on how to code your first micro:bit animation.
What can kids make with the micro:bit?
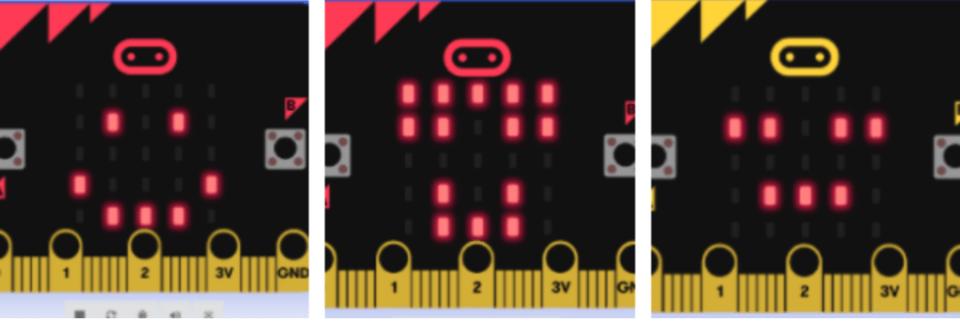
There are so many project to choose from, including Flashing Heart, Digital Die (code shown below), a Marco Polo Game using the radio, a Mind Reader Game and Rock, Paper, Scissors. Kids are only limited by their imagination.
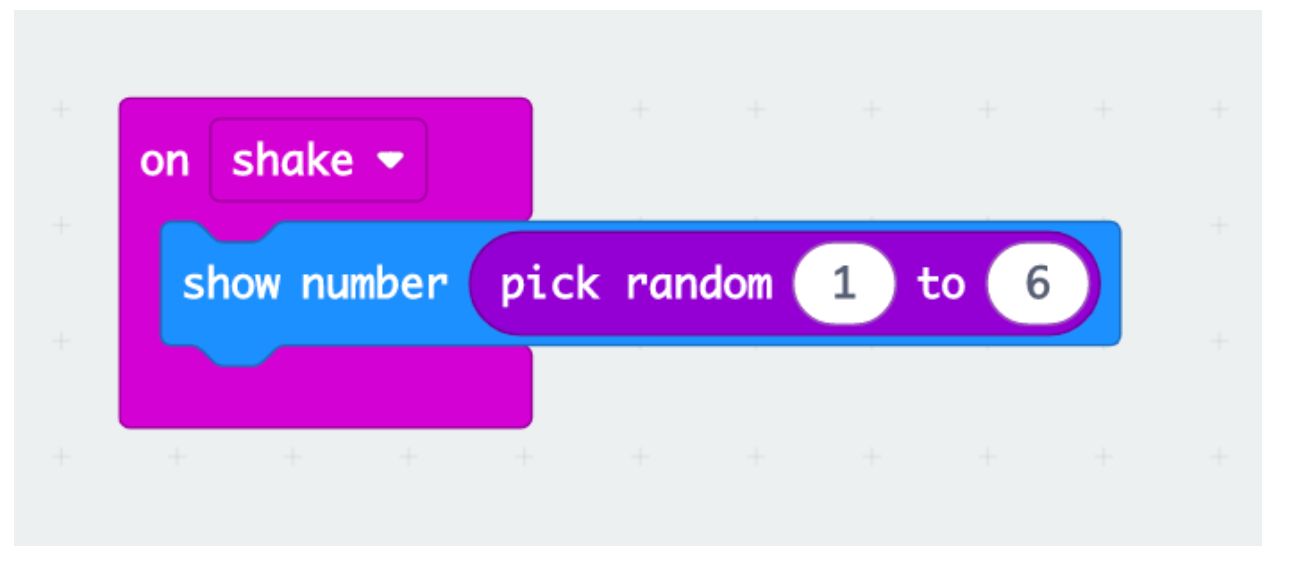
As shown in the Digital Die example above, kids code using blocks that are familiar to them if they have coded using Scratch before.
The Flashing Heart project allows kids to code the LEDs on the front of the to blink on and off in a heart shape. The Digital Die displays a random number from 1 to 6on the LEDs when they shake the micro;bit. Marco Polo sends messages between two micro:bits using the radio feature and sending/receiving strings. Lastly the Rock, Paper, Scissors game displays an image representing Rock, Paper or Scissors on the LEDs of the micro:bit.
Our favorite project is the Mind Reader project. The micro:bit chooses a random number from 1 to 10 and then the user must try to guess it. This project involves programming the buttons on the micro:bit, the LEDs, and high engagement with the user since the number they must guess changes every game!
Where can I find resources and classes to get started using micro:bit?
The Micro:bit Educational Foundation contains information about how to get started with the BBC micro:bit including projects, lessons, the coding interface, where to purchase the device based on the country you reside. Kids can start by getting an overview of the BBC micro:bit and continue on to explore projects that can be created using the BBC micro:bit. Finally this website provides links coding interface with either the MakeCode interface or Python Editor.
How to use MakeCode for micro:bit?
If your children do not have an actual BBC micro:bit device, but would still like to start coding with the micro:bit, the MakeCode website is a great place to start. It provides tutorials, with step-by-step instructions that are easily followed by kids. It also saves all your projects, and you can also download projects to save directly to your computer.
Micro:bit animation is one of the most fun learning experiments for children. In fact, the micro:bit is a wonderful tool for young learners to use. Because it helps them learn some basic coding skills and to create awesome projects.
Learn how to control electronic components such as led light, speaker, and sensors while building fun games and interactive experiments in our live online Lights & Beats with Micro:Bit course. Our instructors incorporate the MakeCode micro:bit website, a free-to-use website that includes a simulation of a micro:bit, the device. So, your child can do everything in a simulator first to test out how the Micro:Bit works without buying the device.
Explore Micro:bit Animation in Easy Steps
Today we walk you and your child through a micro:bit project: a mood tracker. How would you like your child to be able to demonstrate his or her mood using the micro:bit’s LED grid? Wouldn’t that be cool?
1. Get to know the MakeCode free online interface
The Make Code website not only includes a micro:bit simulator, but also empowers you to code using blocks or through javascript, based on your child’s skill level.
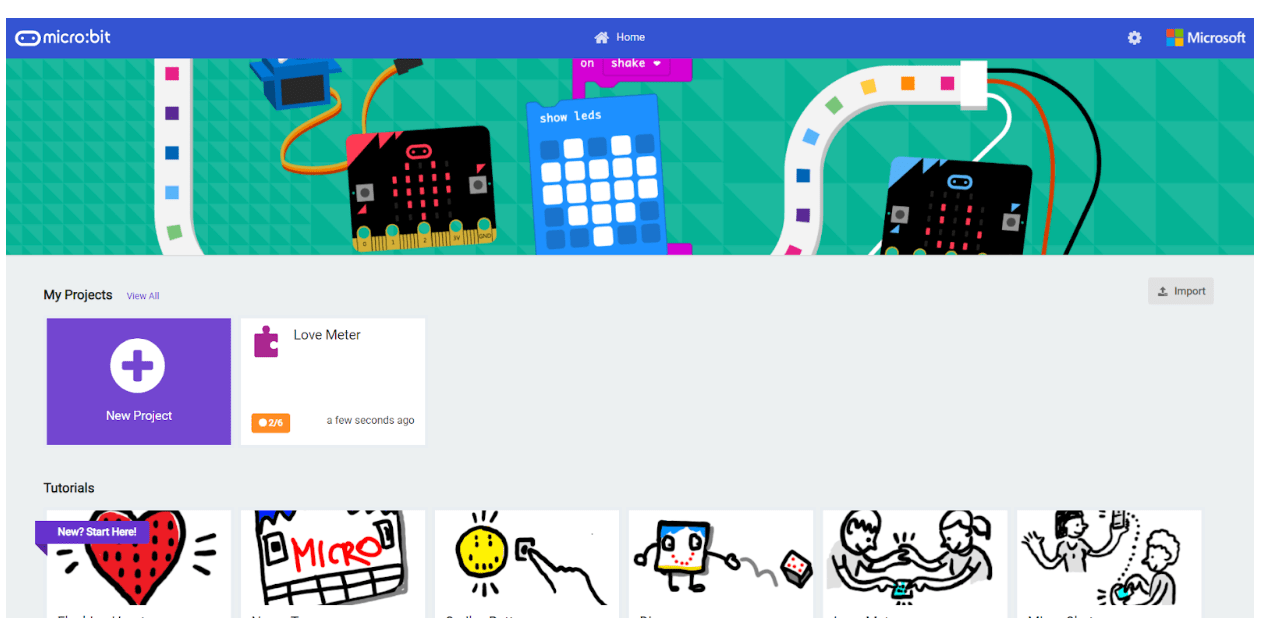
- Click on the purple “New Project” button to begin.
- Name your project “mood tracker”
Once you have clicked on the button it will bring you to your coding interface, as seen below.
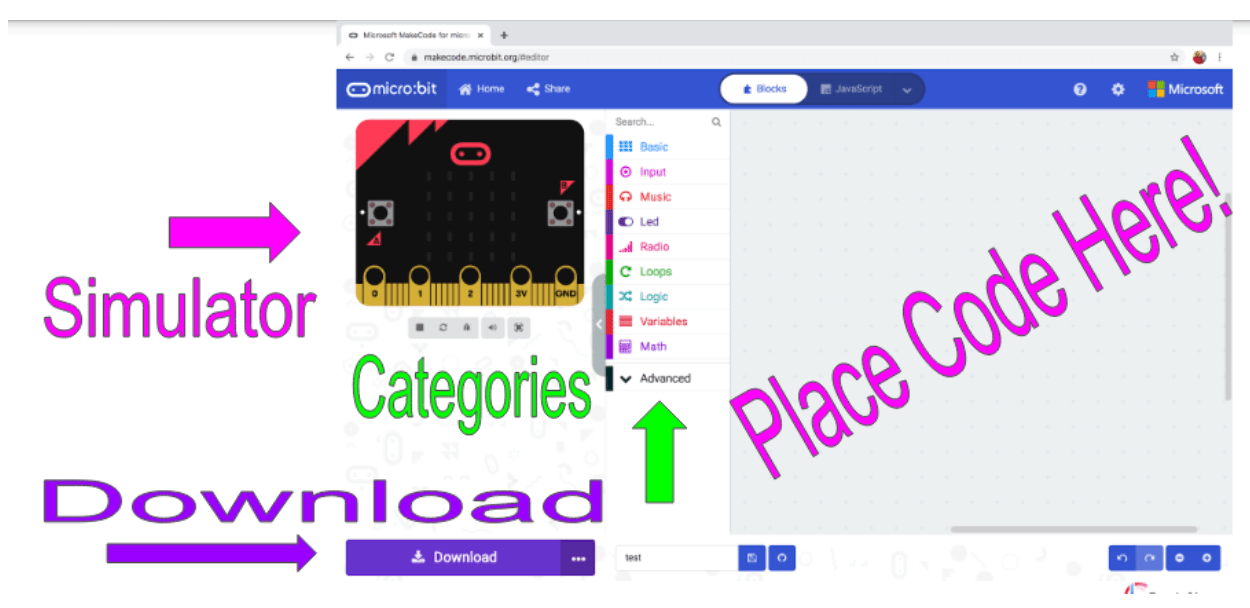
The coding interface allows your child to create so many things! You can see your simulator on the left. Anything your child codes will be simulated onto this micro:bit. There are many different categories all organized by color, not unlike Scratch! This program is very easy; just drag, drop and snap.
What are LEDs?
The micro:bit is equipped with a 5 by 5 LED grid that allows you to create your own designs and images. What are LEDs? LED stands for Light Emitting Diode and they are used for: illumination, indication, and communication. You may have seen LEDs at home in light bulbs, on your remote control, and even on plugs to indicate it is getting power. It’ll be exciting to see what images your child will create for today's project.
2. Find the first coding blocks for your micro:bit animation
Let’s start coding your first micro:bit project.You will need to find the “on start” block, as displayed below.
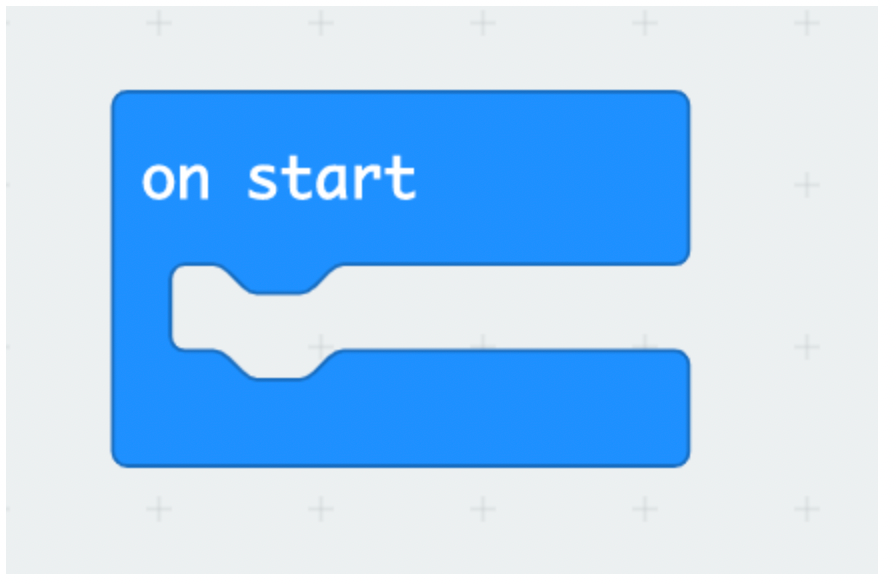
This block is very important when coding the micro:bit. Our program will begin working when the micro:bit turns on, only if the coding blocks are placed inside this “on start” block.
3. Your first micro:bit animation: How are you feeling today?
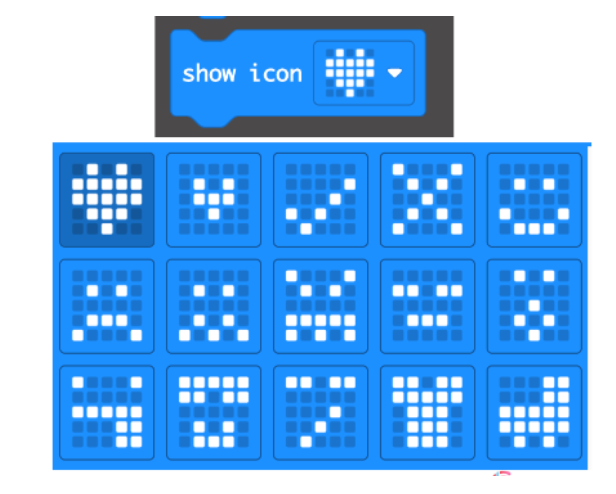
Now, you will have to decide how you are feeling. You are going to choose a pre made LED icon.
- Under the category “basic” you will find the “show icon” block.
- Review the icons with your child, encouraging and discussing which one to choose the best reflects today’s mood.
3. After choosing an icon, snap it together with the “on start” block.
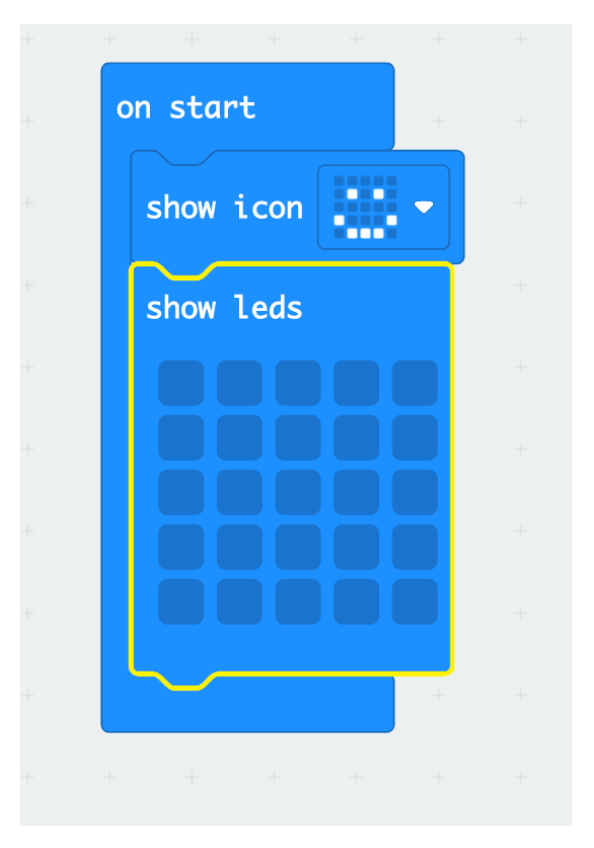
Now, we need to ask ourselves, “How can we make this icon blink on and off?” You will need a blank “show LED’s” block. You can find this in the category “basic”. Once you have found it, snap it under the show icon block. Now your micro:bit’s image should be blinking!
How are loops useful to your program?
There are two different types of loops that we could use in your program.
- forever
- repeat x times
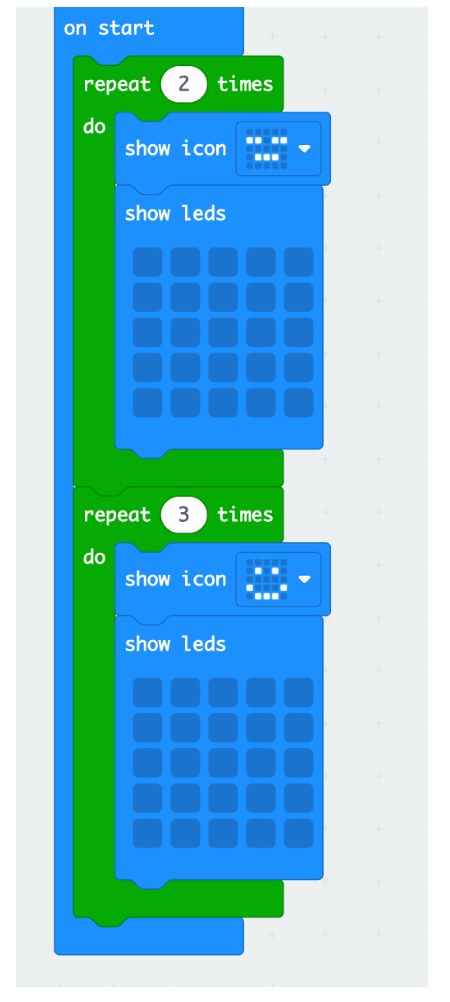
The forever loop repeats infinitely and the “repeat x times” loop repeats a finite amount that we choose. We want to make our program repeat our first blinking icon two times and then add a second icon that will blink 3 times. So, we will be using the repeat x times loop. You can find this in the loops category.
4. Design your own icons
With the micro:bit your child can actually design and create unique LED Icons. If you click on the basic category drawer you will find the “show LEDs” block. Click on each individual square to design your own icon. Try adding it to your project or replacing the show icon block with your creation.
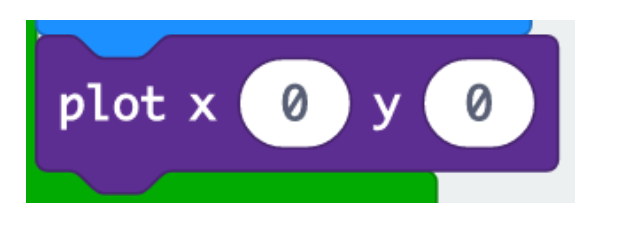
Plotting your own LED icons
The micro:bit is like a grid that has its own plotting points (x,y). X runs from left to right and Y runs from the top to the bottom. You can find the plotting block in the LED category. You can combine multiple plot blocks to create your own pictures. Try adding one to your project!
Challenges for Your Micro:bit Animation
Congratulations! You have just finished your first micro:bit coding project. We hope you enjoyed learning about loops and LEDs. Now, try these fun challenges:
- Design and add more icons to your project
- Design your micro:bit to display 3 blinking images
- Design your micro:bit to interchange between 2 different images instead of blinking
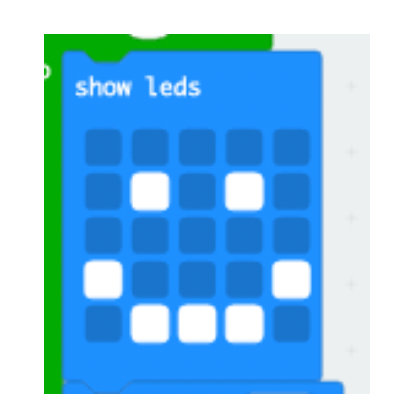
- Plot the following, to see what image it shows
Discover micro:bit introduction projects
Explore the top micro:bit projects for 2021 to find a fun activity today. For kids who have a BBC micro:bit, in this blog post by Seeed Studio, you will find 28 projects kids can do with their micro:bit. It also lists the supplies needed to complete the project, with links to purchase the components. Some of the interesting projects include:
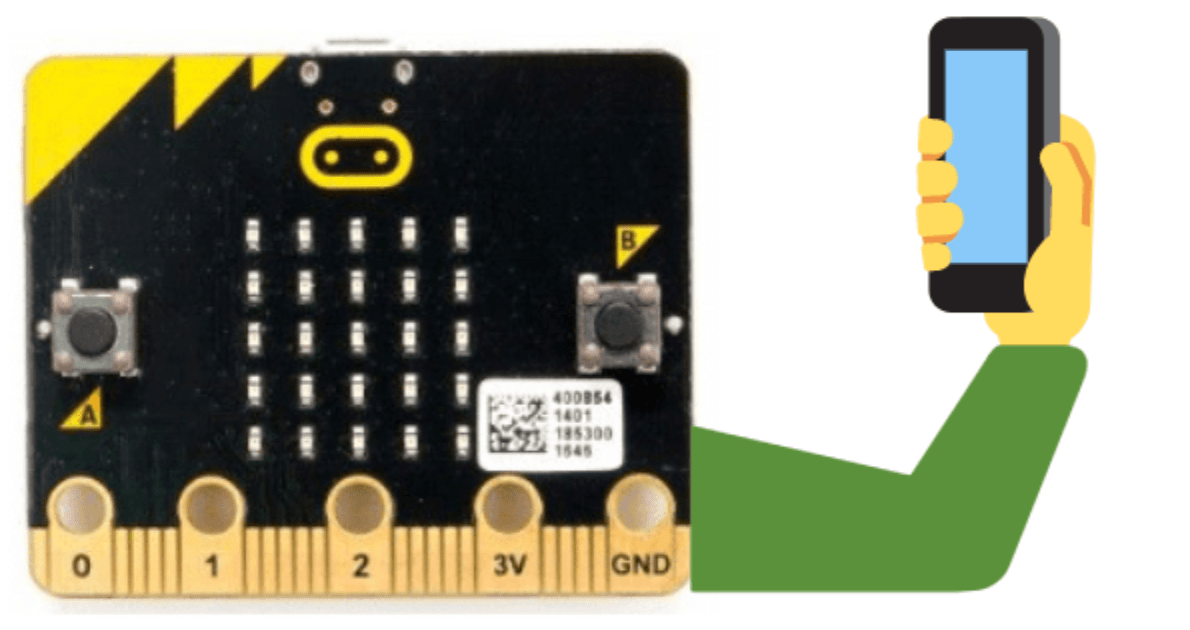
1. Take a Selfie with a Micro:bit Remote (Project #5)
This project is cool because kids join their micro:bit to their phone and program the micro:bit to take a picture by pressing a button on the micro:bit. Kids can even place their phone in one room and take pictures from another room. Pretty clever!
2. Gesture Recognition (Project #9)
Ever wonder how people control their drones or robots with their hands? This project will teach kids how to code their micro:bit to recognize different gestures and have the ability to display the gestures on the micro:bit. This is a great first step to promote understanding with sensors and control.
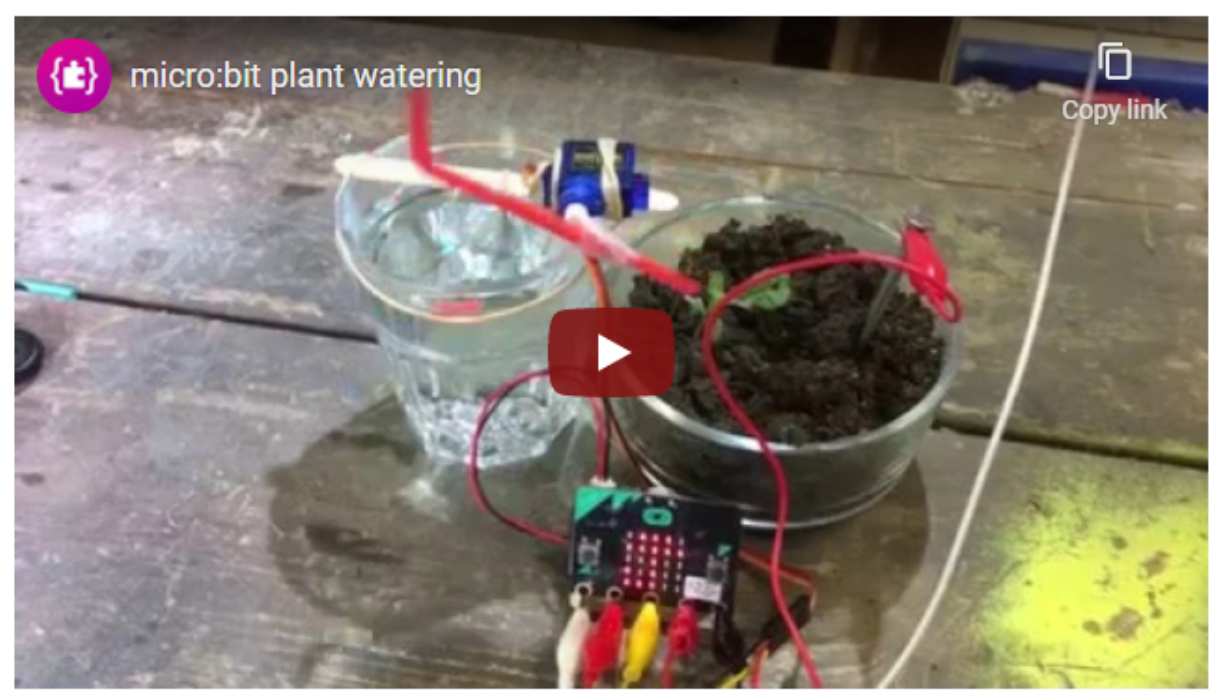
3. Automated Plant Watering System (Project #26)
Interested in how an automatic sprinkler system works? Would you like to have a system like that for your houseplants? Check out this project to build and program your micro:bit to water your plants.
Micro:bit introduction lessons for beginners
We love teaching Lights & Beats with Micro:Bit. In this class, your child will code lights, sensors, and even radio with this powerful little device. Is your child interested in smart devices, or does they want to build robots or rockets one day? This little device packs very powerful capabilities: LED lights, speaker, temperature sensor, microphone, and even an accelerometer.
Coding is done in a simulator that works just like the physical BBC micro:bit. So, your child won’t need the physical device to take the class. But if you do decide to purchase one, all the code will work perfectly on the device without any changes.
Join us to learn about all the possibilities that the BBC micro:bit has to offer, led live by a US-based expert and with a curriculum designed by professionals from Google and MIT. During class you'll learn how to make your own dance animations, firework shows, and a light level clock. And create a compass, a thermometer, a mind reader, a rock paper scissors game, and so many more projects!
Brought to you by Adrienne Unertl, Instructor at Create & Learn

